| Deletions are marked like this. | Additions are marked like this. |
| Line 94: | Line 94: |
|
$TUTORIAL_DATA/diffusion_tutorial/Diff001/dpath/lh.ilf_AS_avg32_mni_flt/path.pd.nii.gz:colormap=jet:isosurface=0,0:color='yellow' \ $TUTORIAL_DATA/diffusion_tutorial/Diff001/dpath/rh.ilf_AS_avg32_mni_flt/path.pd.nii.gz:colormap=jet:isosurface=0,0:color='yellow' & |
$TUTORIAL_DATA/diffusion_tutorial/Diff001/dpath/lh.ilf_AS_avg32_mni_flt/path.pd.nii.gz:colormap=jet:isosurface=0,0:color='Red' \ $TUTORIAL_DATA/diffusion_tutorial/Diff001/dpath/rh.ilf_AS_avg32_mni_flt/path.pd.nii.gz:colormap=jet:isosurface=0,0:color='Red' & |
TRACULA Outputs
Remember...
For each new terminal that you open, you must do:
setenv SUBJECTS_DIR $TUTORIAL_DATA/diffusion_recons
cd $TUTORIAL_DATA/diffusion_tutorial
Ouputs From FSL's dtifit
View the ouputs of the tensor fitting from FSL's dtifit, one of the Pre-processing steps. Some of these outputs, e.g., the FA or MD maps, can be used for voxel-based and ROI-based group analysis. They can be viewed/analyzed in either native space or MNI space. We'll take a look at both.
Outputs In Native Diffusion Space
The diffusion tensor reconstruction files from FSL's dtifit in native space can be found in the dmri directory which was created when trac-all -prep was run. Let's cd into that directory for subject Diff001:
cd $TUTORIAL_DATA/diffusion_tutorial/Diff001/dmri
You can find all outputs from FSL's dtifit (tensor reconstruction) in this directory by using the ls command. The output maps are explained below:
- dtifit_FA.nii.gz - Fractional Anisotropy
- dtifit_MD.nii.gz - Mean Diffusivity
- dtifit_MO.nii.gz - Mode of the Anisotropy
- dtifit_S0.nii.gz - Non-Diffusion weighted image
- dtifit_L1.nii.gz - Primary Eigen Value
- dtifit_L2.nii.gz - Secondary Eigen Value
- dtifit_L3.nii.gz - Tertiary Eigen Value
- dtifit_V1.nii.gz - Primary Eigen Vector
- dtifit_V2.nii.gz - Secondary Eigen Vector
- dtifit_V3.nii.gz - Tertiary Eigen Vector
One could use the visualization tool, freeview, to view the Fractional Anisotropy image for Diff001 in native space. You can do this with the command below:
freeview $TUTORIAL_DATA/diffusion_tutorial/Diff001/dmri/dtifit_FA.nii.gz &
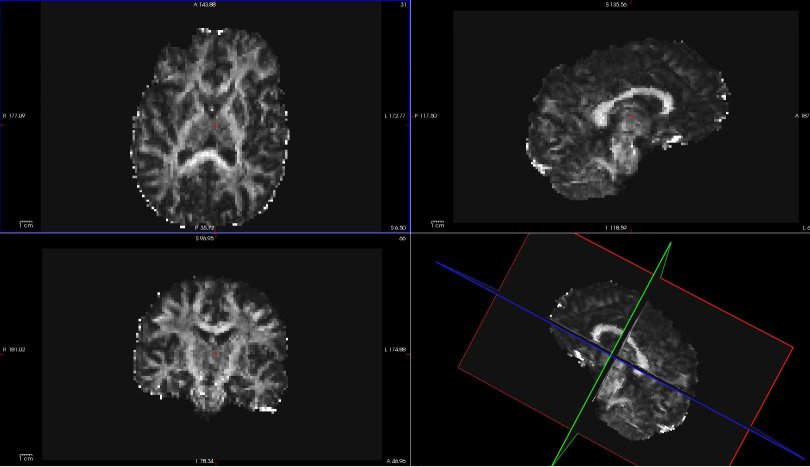
Hover your mouse on different voxels throughout the image and notice the FA value change in the bottom toolbar. Look for areas of low FA and areas of high FA. Scroll through the slices using the Page Up and Page Down buttons. Feel free to change the contrast by holding down Shift and the left mouse button while dragging the mouse across the viewer window. When you are done, hit the X in the top right to close freeview.
All the above images are in the subject's native diffusion space. If you'd like to do a voxel-based group analysis of any of theses maps, they need to be transformed to a common space (MNI).
Outputs In MNI space
The resampling of the dtifit output volumes to MNI space is performed as part of the tensor-fitting step in TRACULA preprocessing. This resampling involves:
- First, mapping the volumes from the individual's diffusion space to the individual's anatomical space, using either bbregister, FLIRT, or both.
- Second, mapping the volumes from the individual's anatomical space to the space of the MNI template (MNI152_T1_1mm_brain by default). This uses the affine transform that is computed by the Inter-subject registration step in TRACULA preprocessing, using FSL's FLIRT.
Again, among dtifit outputs, only the scalar maps, i.e., all outputs except the eigenvectors, are transformed to MNI space. The transformed volumes can be found in the following directory.
You can find the MNI registration results in the following directory:
cd $TUTORIAL_DATA/diffusion_tutorial/Diff001/dmri/mni/
- To check the registration of the FA image to the MNI template in freeview, use the commands below.
View the registration between the FA and the MNI template for the bbregister-ed FA version:
freeview -v $FSLDIR/data/standard/MNI152_T1_1mm_brain.nii.gz \
            $TUTORIAL_DATA/diffusion_tutorial/Diff001/dmri/mni/dtifit_FA.bbr.nii.gz &
Or check the registration between the FLIRT-registered FA image and the MNI template:
freeview -v $FSLDIR/data/standard/MNI152_T1_1mm_brain.nii.gz \
            $TUTORIAL_DATA/diffusion_tutorial/Diff001/dmri/mni/dtifit_FA.flt.nii.gz &
To see the correspondence between the FA in MNI space and the MNI template and check the accuracy of the registration, toggle between the two images by using the 'Alt + C' hot key. Or you can check and uncheck the box next to volume at the top of the list on the left panel.
Alternatively, you can adjust the opacity:

You can make one of the views bigger by choosing the 1x1 button (  ). Use the orientation buttons to switch the plane (
  ,
,  ,
,  ,
,  ). Put your cursor at the edge of a gyrus or ventricle as a landmark before toggling back and forth between the two volumes. Scroll through the slices and try it again on a different section of the brain. Notice how accurate the registration is - the anatomy in individual subject's image lines up well with the anatomy in the template's image. When you are done, be sure to close freeview again.
FSL's bedpostX Outputs
For a detailed overview of the outputs given by FSL's bedpostX please refer to the link below,
http://www.fmrib.ox.ac.uk/fsl/fdt/fdt_bedpostx.html
Tractography Outputs
Visualizing The Posterior Distribution Of A White Matter Pathway
To visualize the posterior distribution of the inferior logitudinal fasiculus tract (ILF) that was estimated using training data in MNI space, do the following:
freeview -v $TUTORIAL_DATA/diffusion_tutorial/Diff001/dmri/dtifit_FA.nii.gz \
            $TUTORIAL_DATA/diffusion_tutorial/Diff001/dpath/lh.ilf_AS_avg32_mni_flt/path.pd.nii.gz:colormap=jet:isosurface=0,0:color='Red' \
            $TUTORIAL_DATA/diffusion_tutorial/Diff001/dpath/rh.ilf_AS_avg32_mni_flt/path.pd.nii.gz:colormap=jet:isosurface=0,0:color='Red' &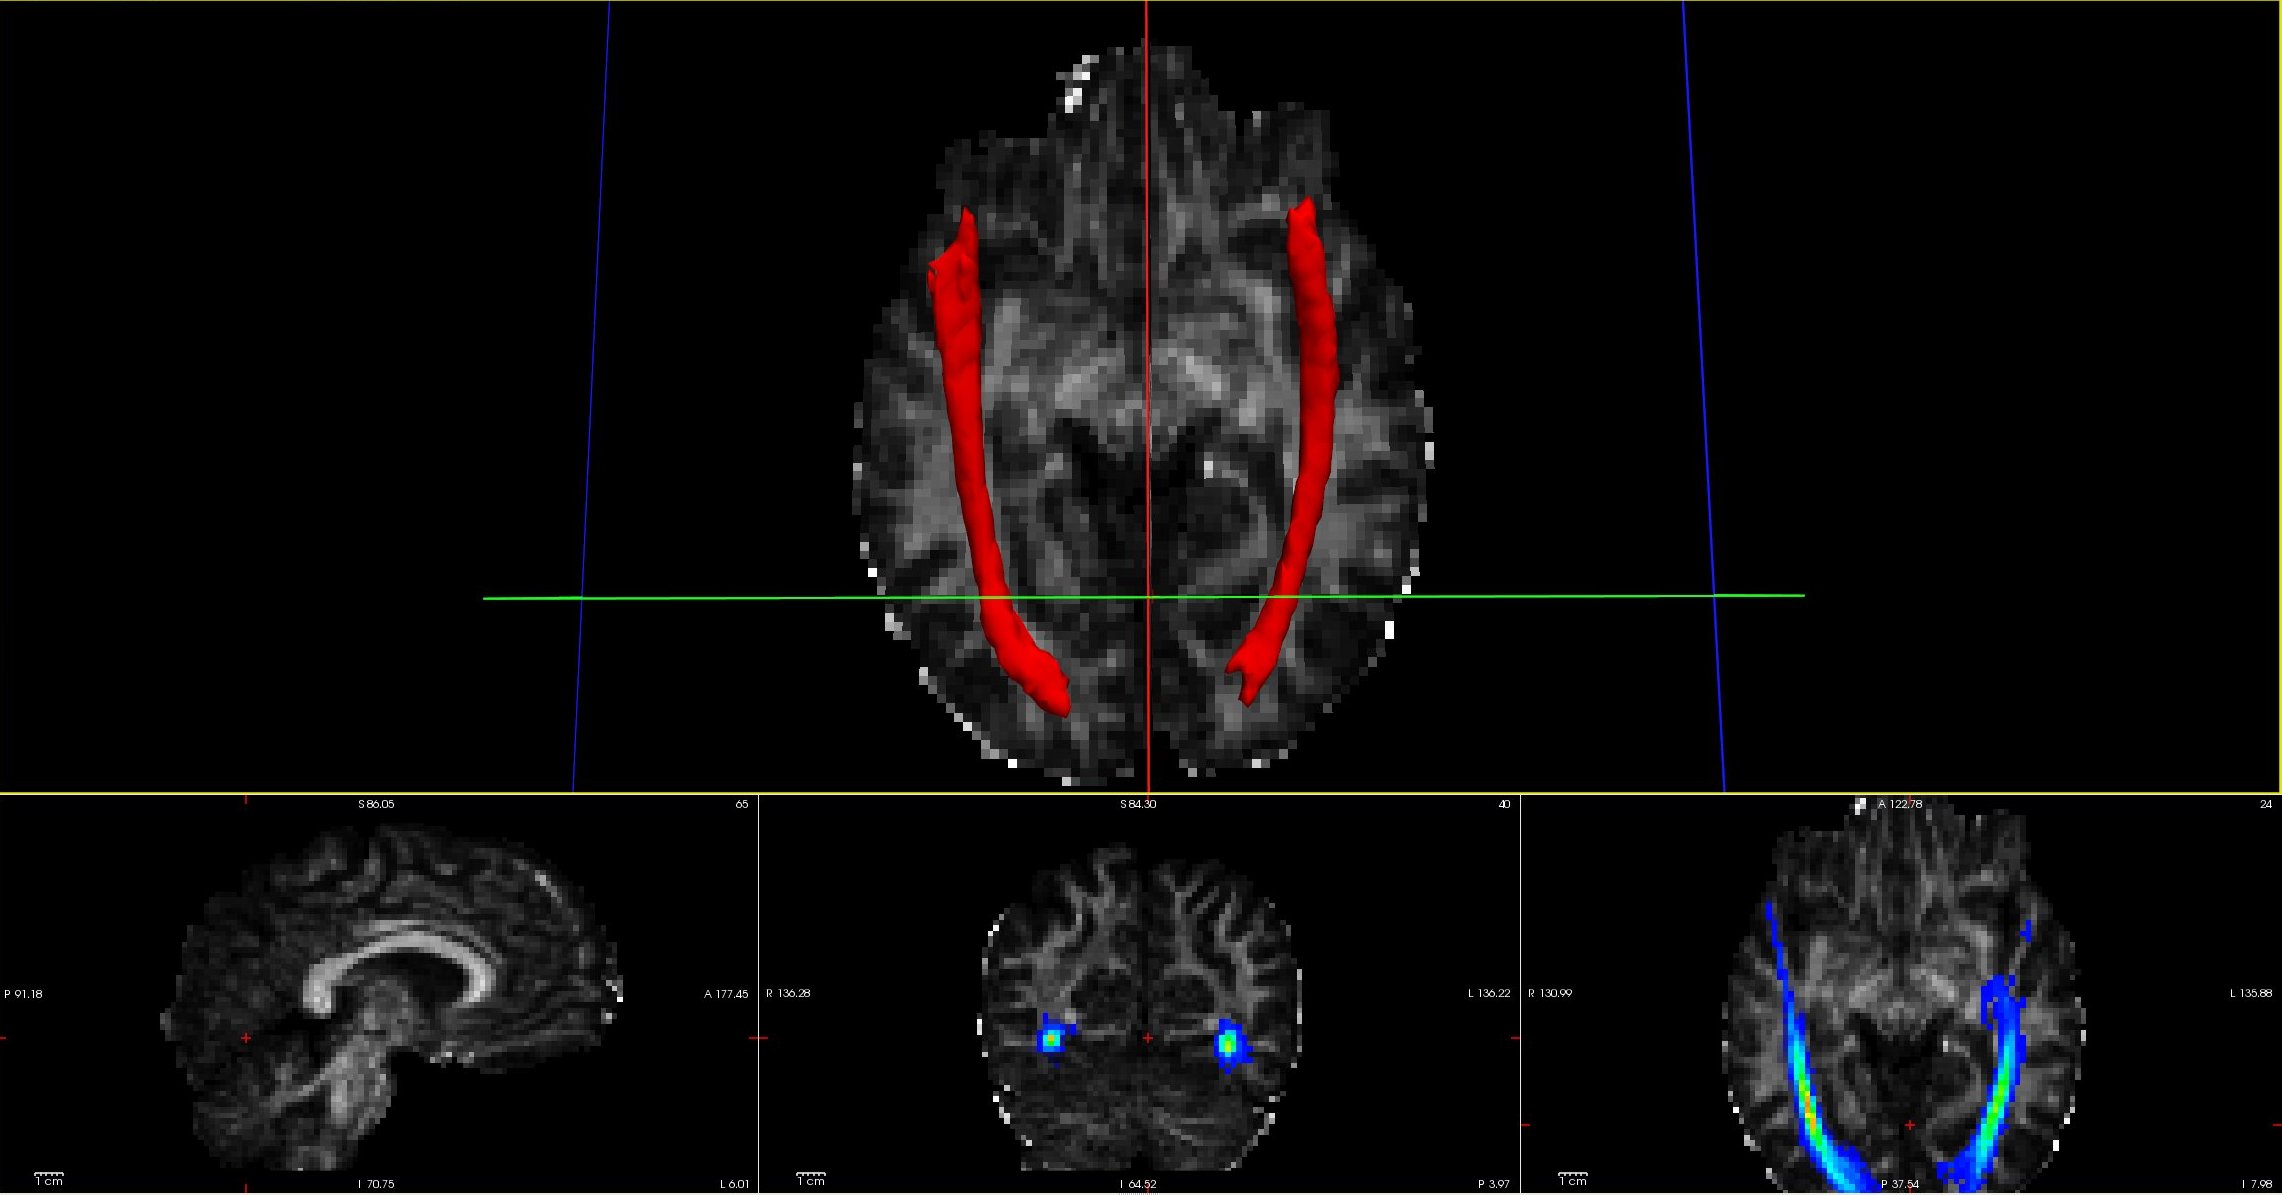
Click on the 3D button (  )to view the tract. Use the 1x1 button (
  ) to make it fill the window. You can rotate the image by grabbing it with the mouse and dragging. You can also move the slice planes by grabbing those and dragging them out of the way. Hold down the middle button and push the mouse forward for a smooth zoom inwards.
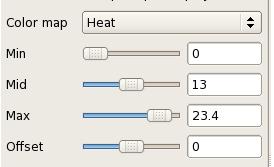
You can play with the isosurface threshold to change the isosurface.

You can also adjust the heatmap thresholds for the posterior distribution of ILF. You'll want to go back to the non-3D views (  ,
,  ,
,  ) to see the effect.
Visualizing The Posterior Distribution Of All Reconstructed Tracts
Tracula also outputs a merged 4D volume, which is a concatenation of the estimated distribution of all the tracts. To visualize all tracts reconstructed using TRACULA, do the following:
freeview -tv $TUTORIAL_DATA/diffusion_tutorial/Diff001/dpath/merged_avg32_mni_flt.mgz \
         -v $TUTORIAL_DATA/diffusion_tutorial/Diff001/dmri/dtifit_FA.nii.gz &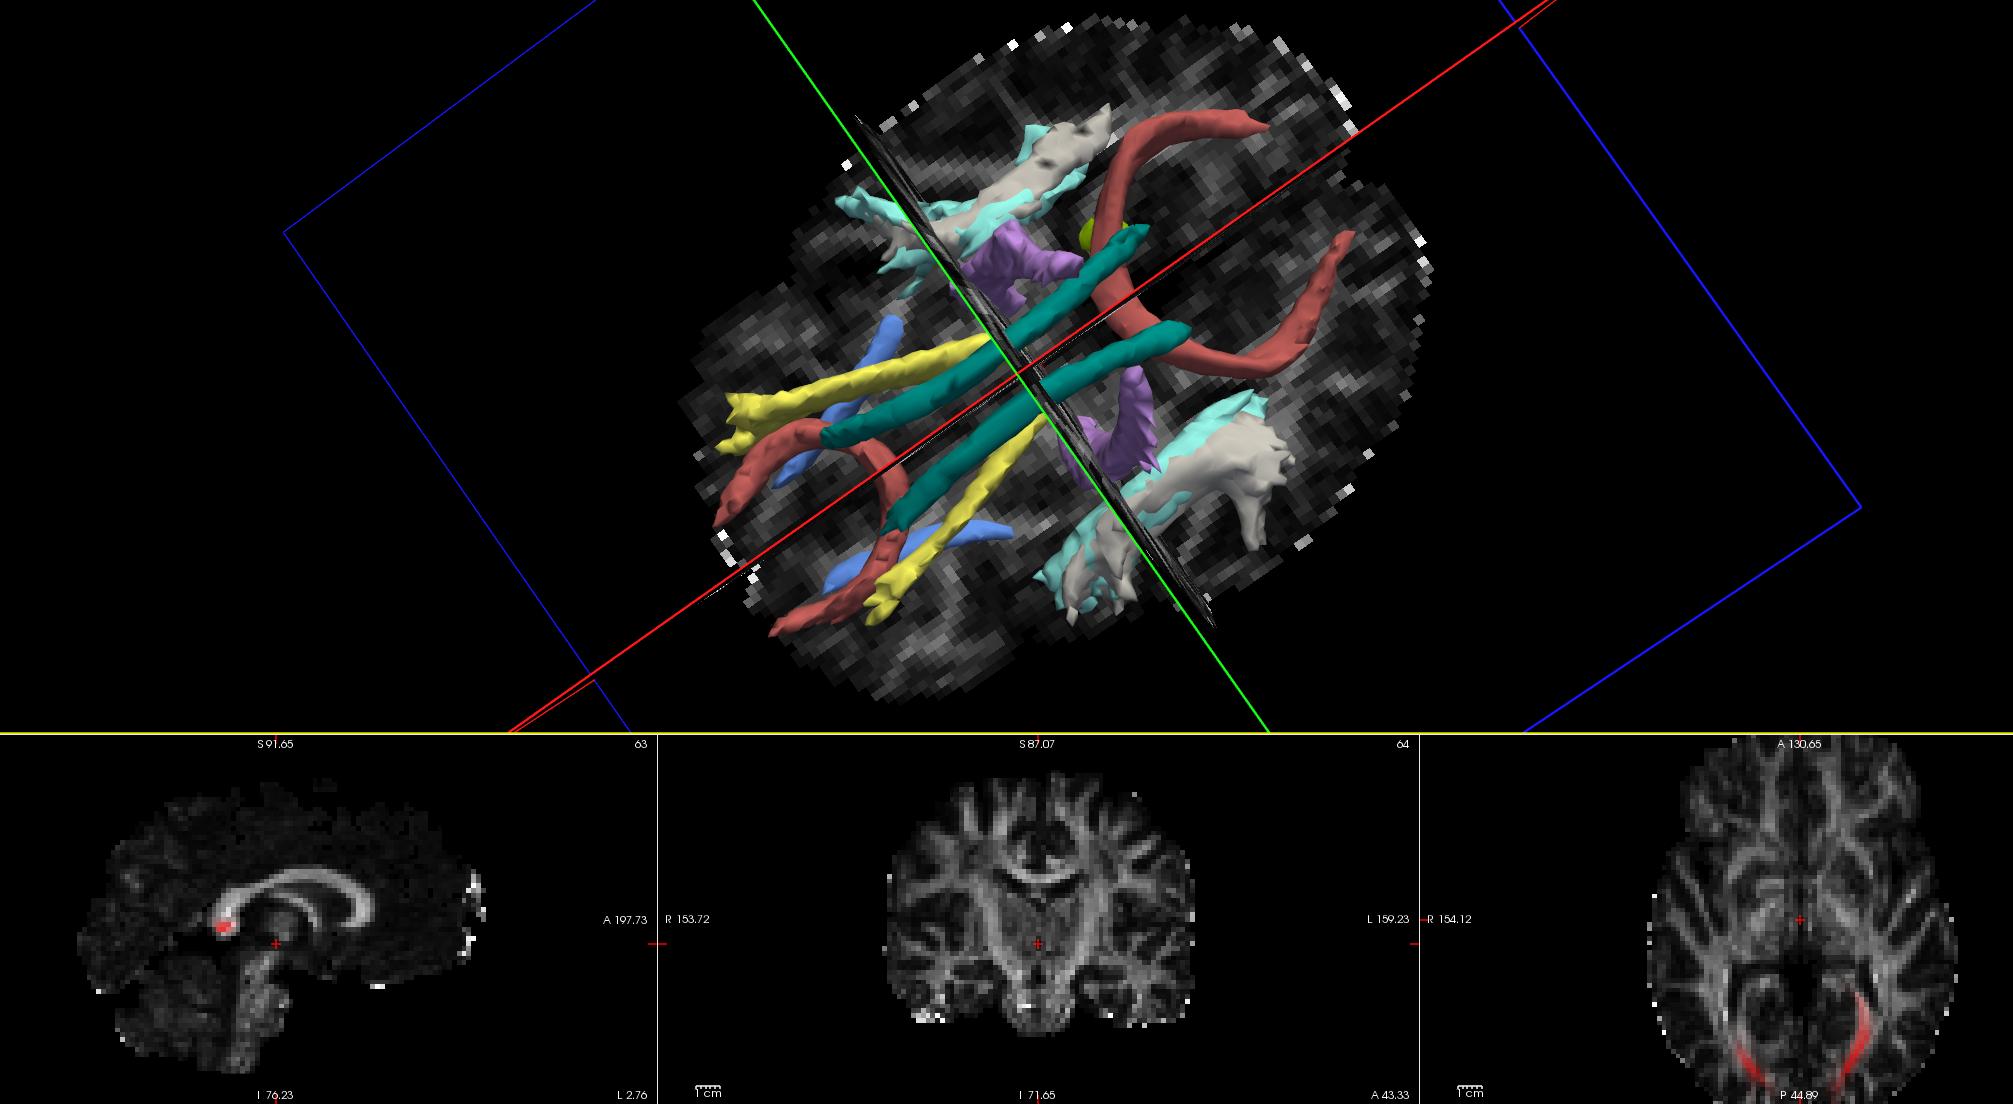
The lower-left corner of the freeview display gives the color lookup table for all the tracts. The tracts in the merged volume are displayed at 20% of their maximum threshold, by default. Hence the posterior distribution of some of tracts may not be displayed in its entirety. To look at the complete path distribution of a specific tract in non-3D views, you can play with the threshold values again:

The threshold for each tract can also be adjusted in the 3D view by selecting a specific tract from the lookup table
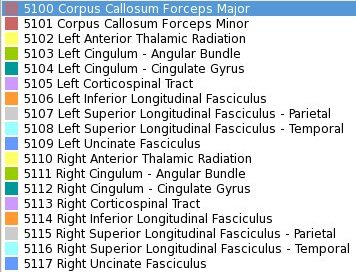
and adjusting the threshold button  at the bottom of the freeview diplay panel to view the 3D distribution of a tract at various thresholds (between 1 and 100).
Now that you've seen what the output looks like, you can take a look at the resulting stats for each tract by clicking on the Next button below.
