CentOS 7 WSL Install
Different versions of CentOS to run in WSL can be found in the Microsoft Store. As of this writing the images are not free but are inexpensive at a one time cost of $2 to $5 USD. The example install here will show CentOS7 but the same process should apply to run other versions of CentOS under WSL (this example is with the free 6.9.x.x Xming server).

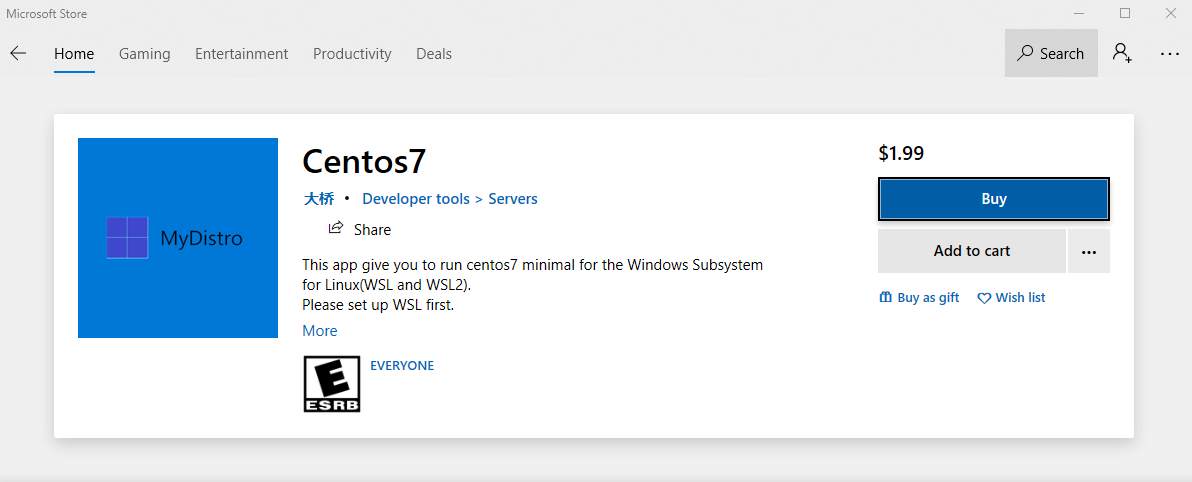
If an image is free - or after you purchase an image - you should see a ***launch*** button in the item description.

With WSL (previously) enabled, clicking on launch will cause WSL to bring up a terminal window and print out a notification that installation is underway. You will then be prompted to create a userid. Note that userid and password need not match your Windows credentials.

Subsequently, this image will install the epel repo followed by some additional packages. Answer yes to the prompt when asked to install packages.

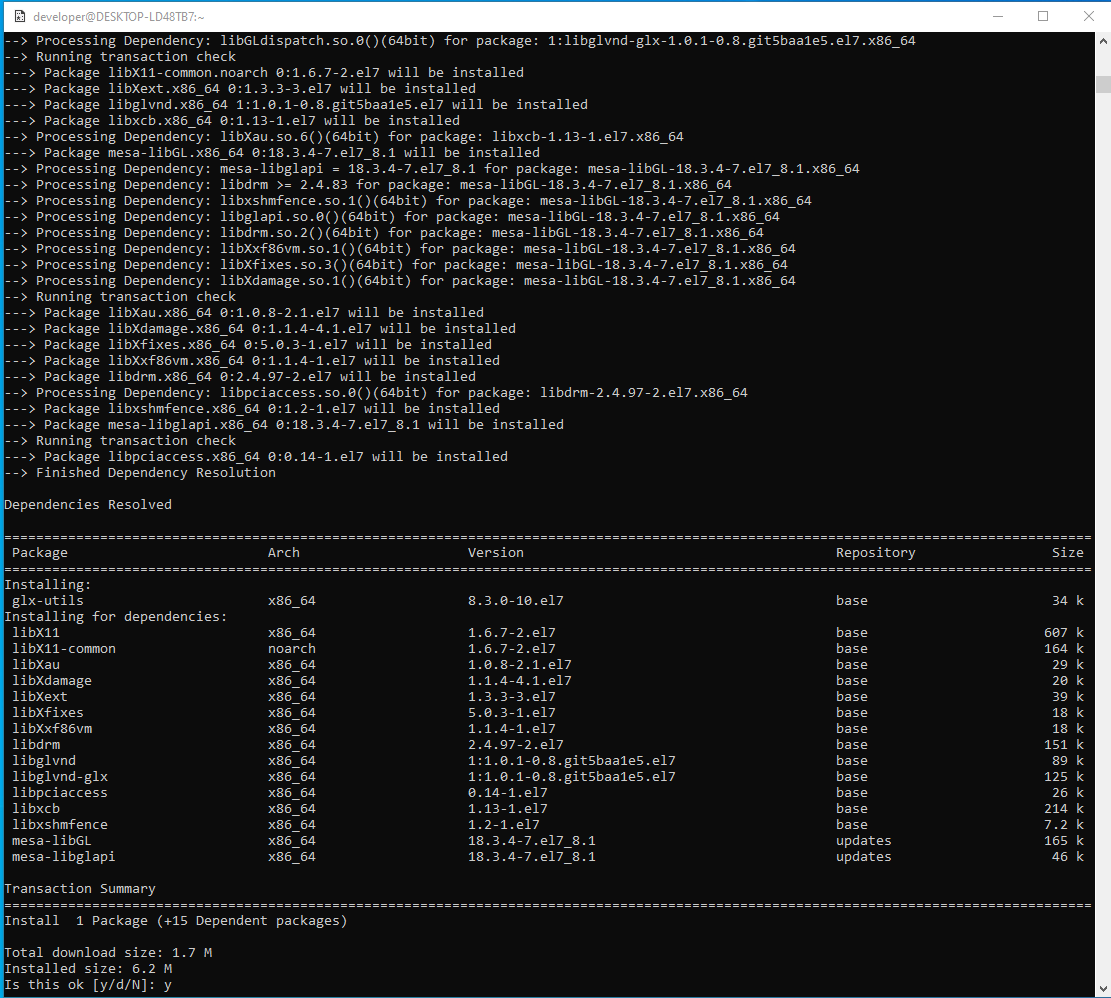
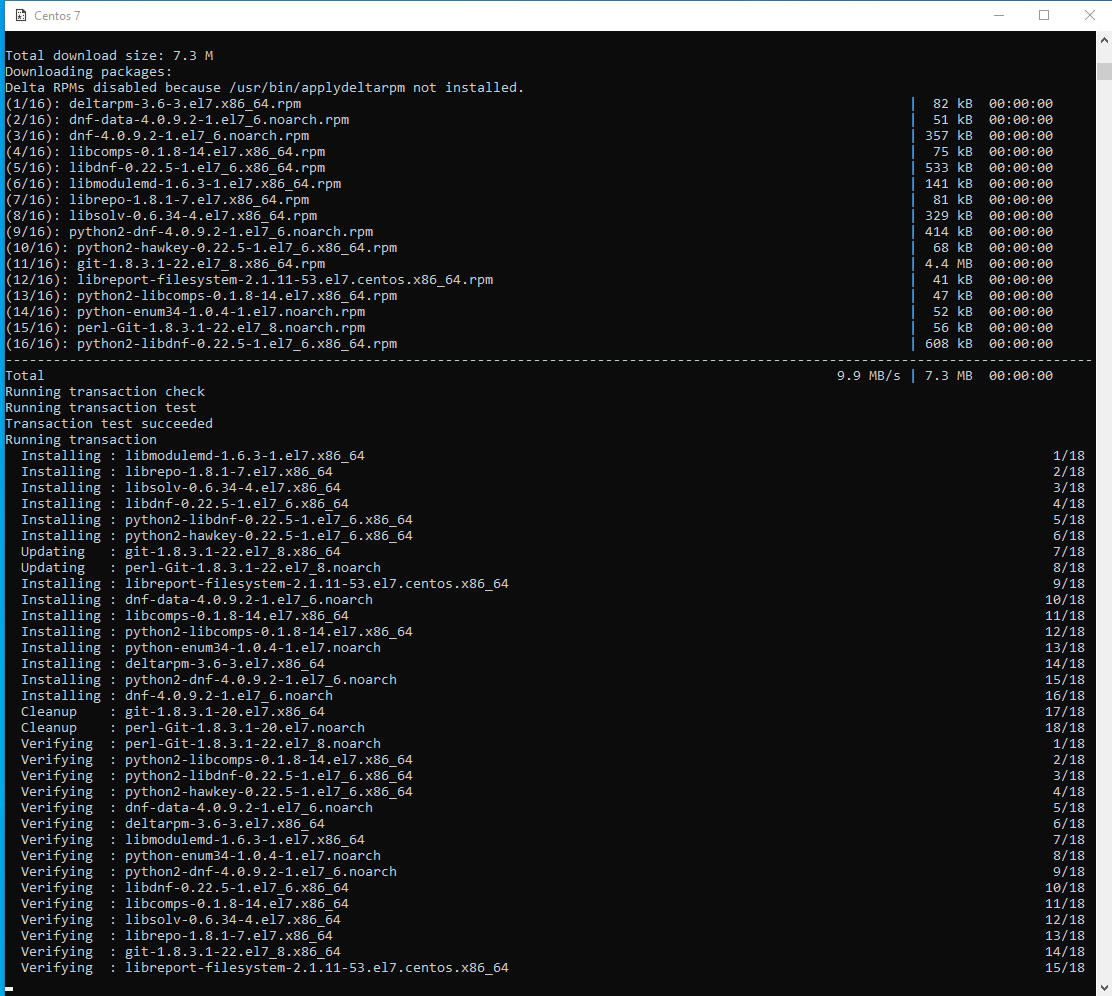
After the install commands are done, you will be prompted to create a password for the userid.
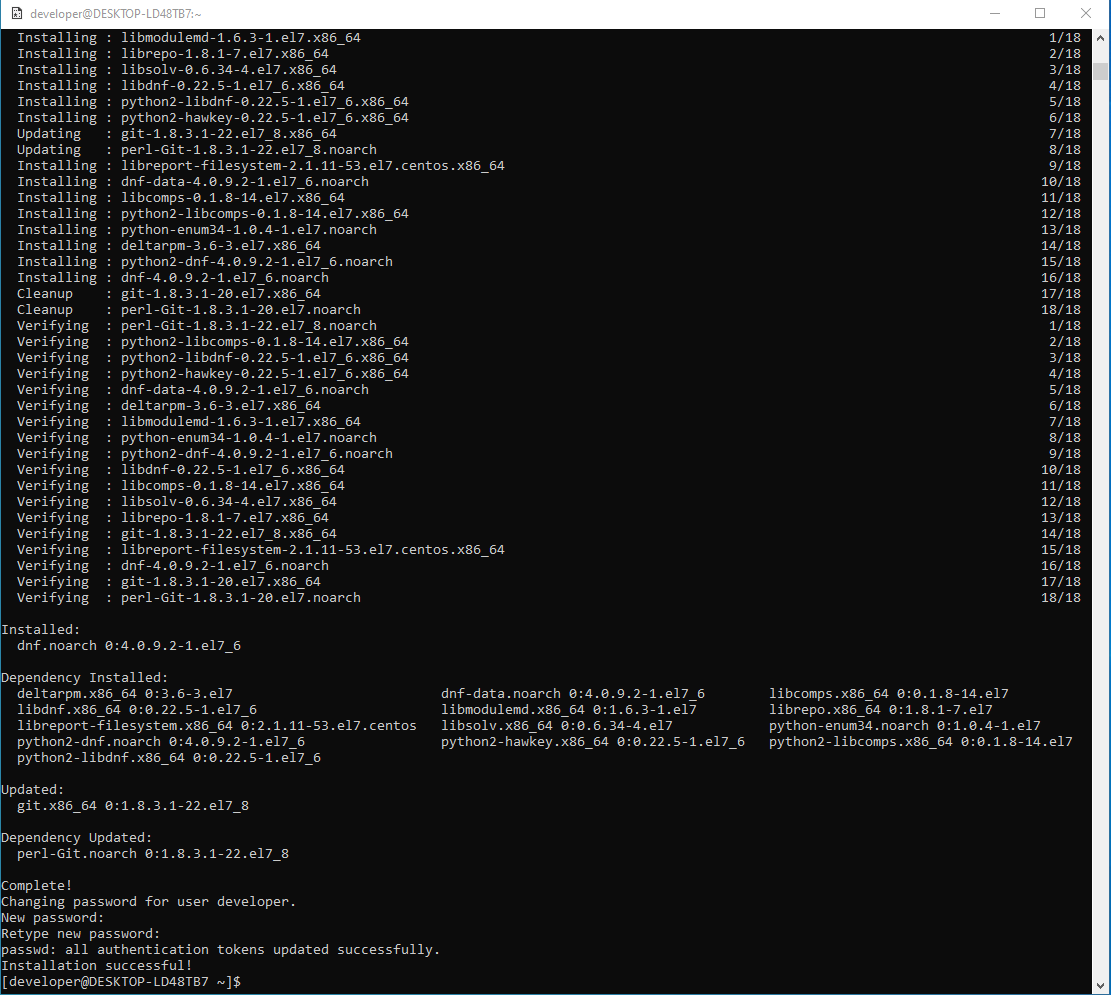
You will then be at the terminal prompt once the password is accepted.
CentOS 7 Freesurfer WSL Install
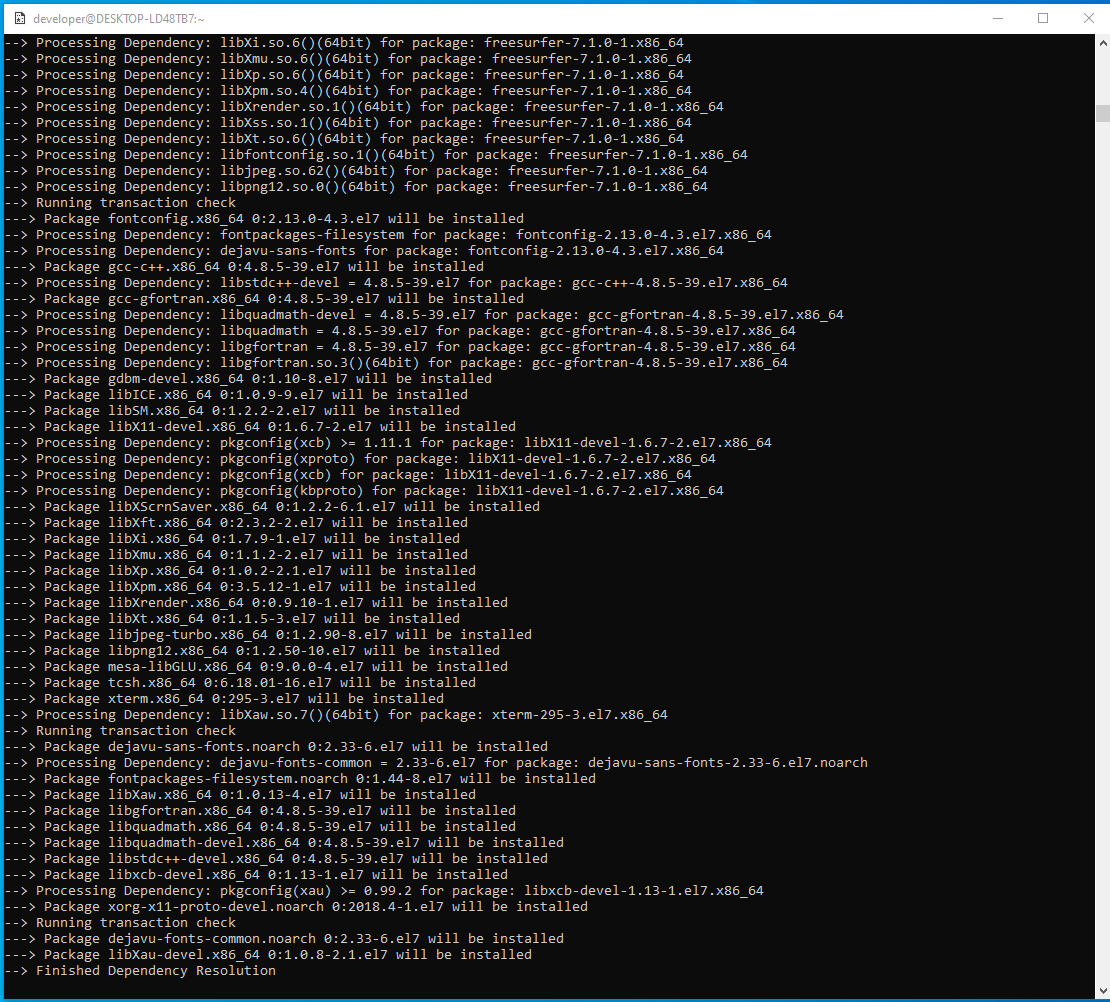
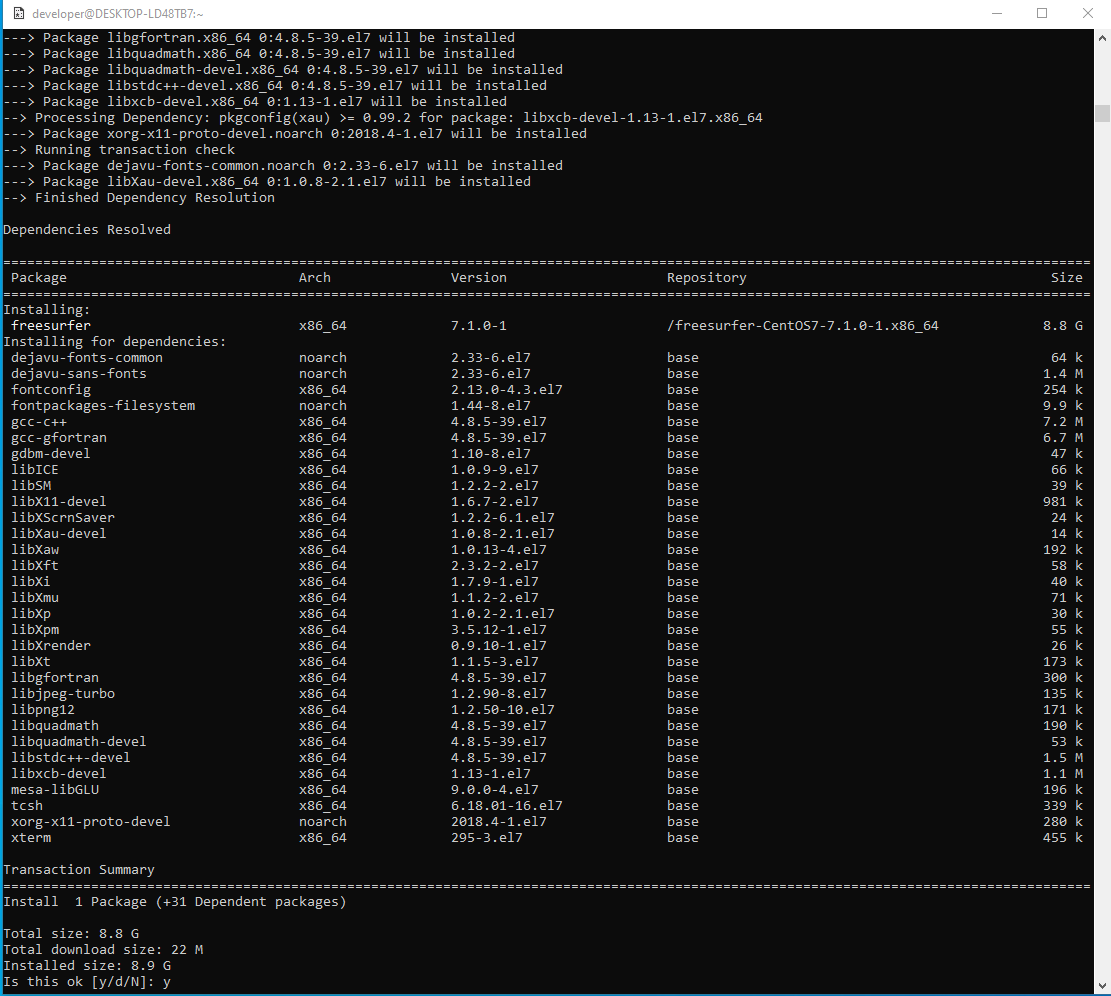
Next install the freesurfer release 7 RPM in the WSL environment.
In this example, the latest (7.1.0) release CentOS RPM has been downloaded into the users Downloads folder on the Windows side and will be read directly thru the NTFS mount point from the WSL terminal. The link to the CentOS7 rpm is CentOS7_RPM
Substitute your userid for the empty subdirectory in the path to the RPM file.
Answer yes to the prompt when asked to install packages.

Check the X Environment
Install the glxinfo command to help with checking the status of the graphics environment. The output from the sudo yum install glxinfo command is not shown below, and your output may vary depending upon what is installed on the system. Answer yes to the prompt to install any packages.

... output deleted ...

If we print out the environment with the env and sort commands, we can do a quick check to see if things are setup to be graphics friendly.
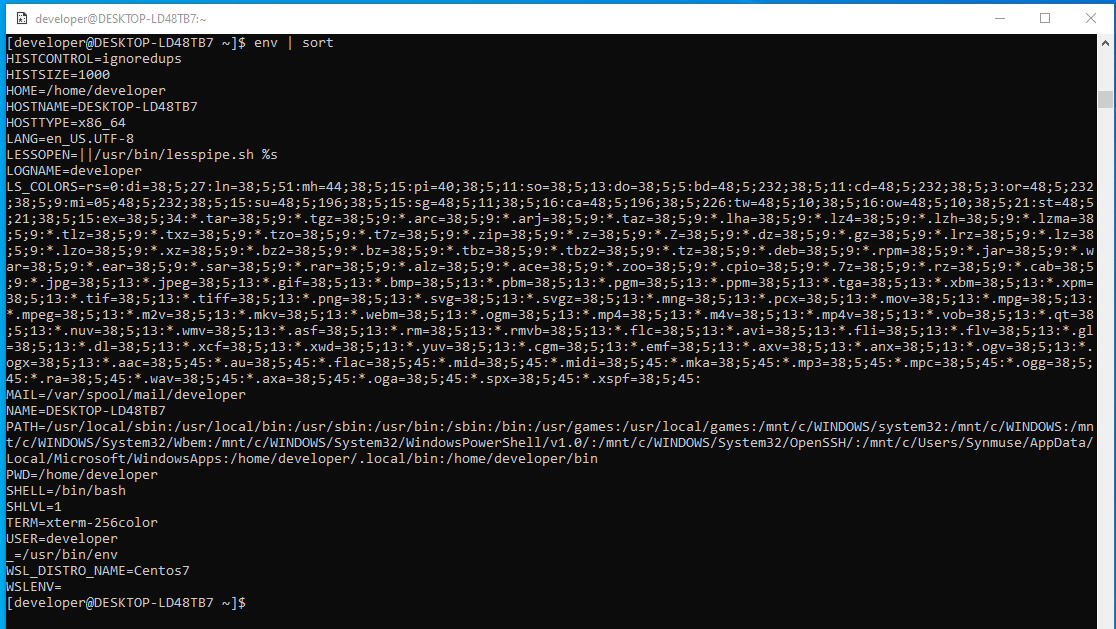
Note that the DISPLAY environment variable is not set to specify what "host:display" should be used to display graphics.
For Qt based graphics, e.g., with freeview, variables like XDG_RUNTIME_DIR are expected to point to a temporary directory.
So we can start with setting DISPLAY to ":0" to default to the first display on the local host, and create a directory to use for XDG_RUNTIME_DIR.


Now start the X Server, e.g., Xming via it's launch icon on the Windows desktop, if it is not already running. This was covered under "Test Launching Xming" at the bottom of the previous_page.
Then run the glxinfo command and grep the output for info about the OpenGL software.

The 6.9.x.x version of Xming needs the mesa swrast driver to be installed for OpenGL to work. So install that with the following command by answering yes to the prompt to install any packages. Note this step may not be necessary with the 7.x.x, paid version of the XMing server, i.e., if the above glxinfo command reports everything is defined.

Now the output from the previous glxinfo command should find everything is defined for OpenGL information. Note that the version of OpenGL running under WSL is older than what you might find on a desktop CentOS7 machine that directly uses the native graphics hardware.

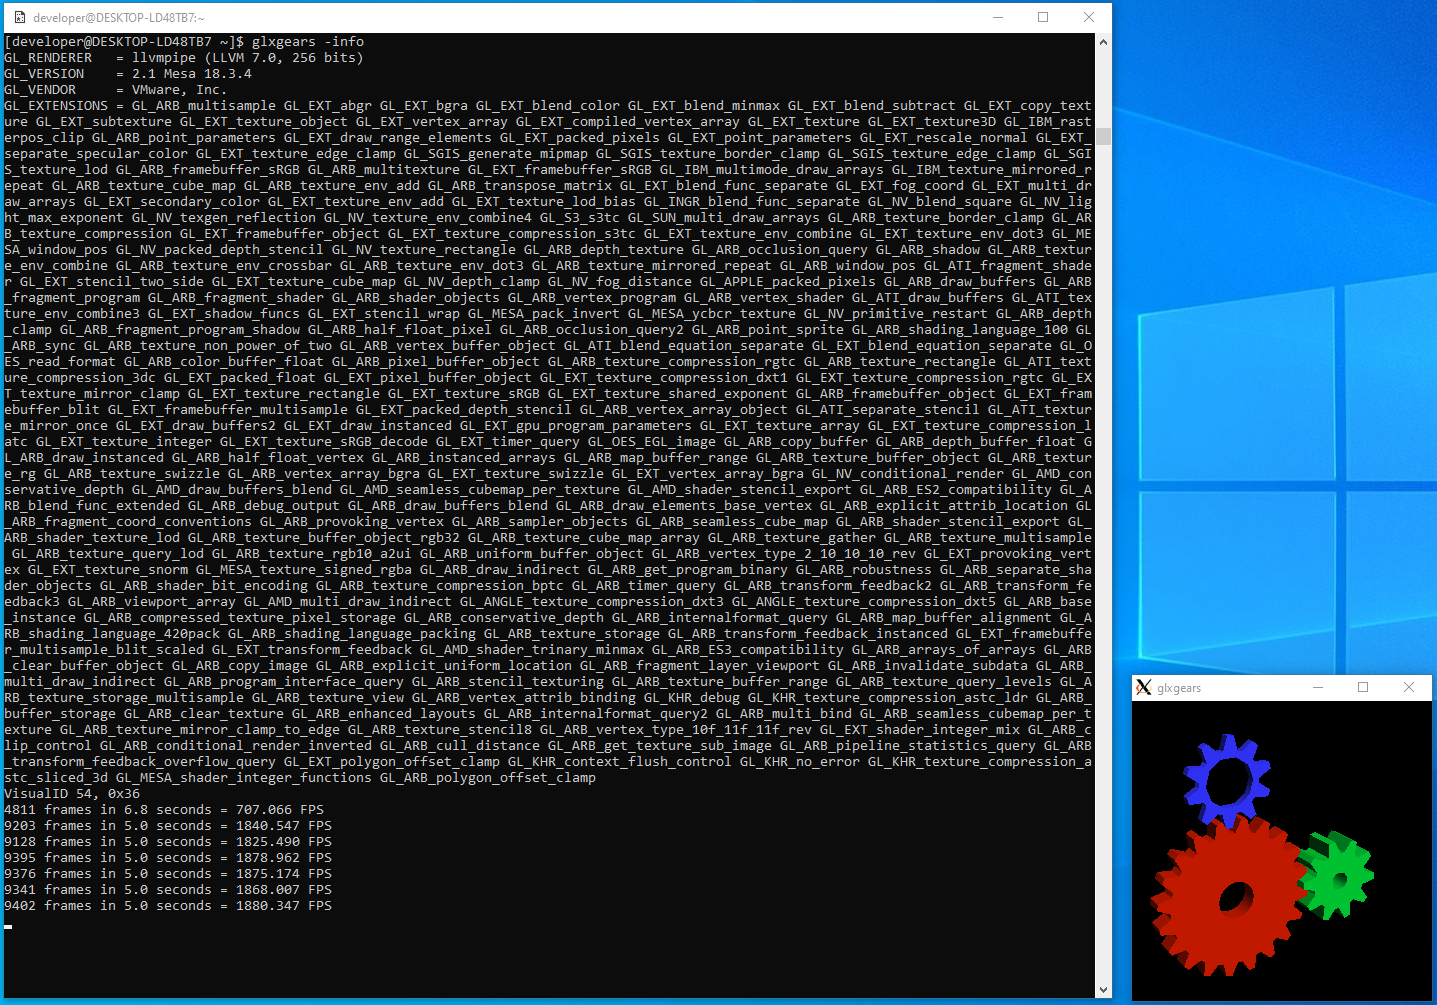
We can run a simple X program like glxgears to test displaying graphics, i.e., you should see spinning gears and informative output form the command without any errors.
Run Freeview
With the X environment tested, we can now setup the Freesurfer environment.
This includes setting FREESURFER_HOME, adding in your own copy of the license file (license.txt) and setting FS_LICENSE to point to it. Substitute your userid for the empty subdirectory in the path to copy in the license file (assumed to be in the Downloads folder on the Windows side).
Then we source the bash setup script, SetUpFreeSurfer.sh and expect to see the output listing the freesurfer environment.
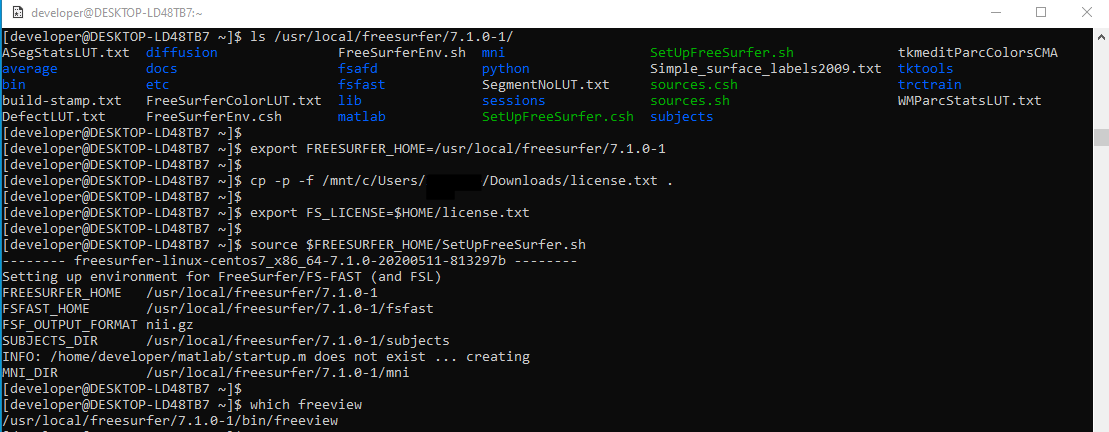
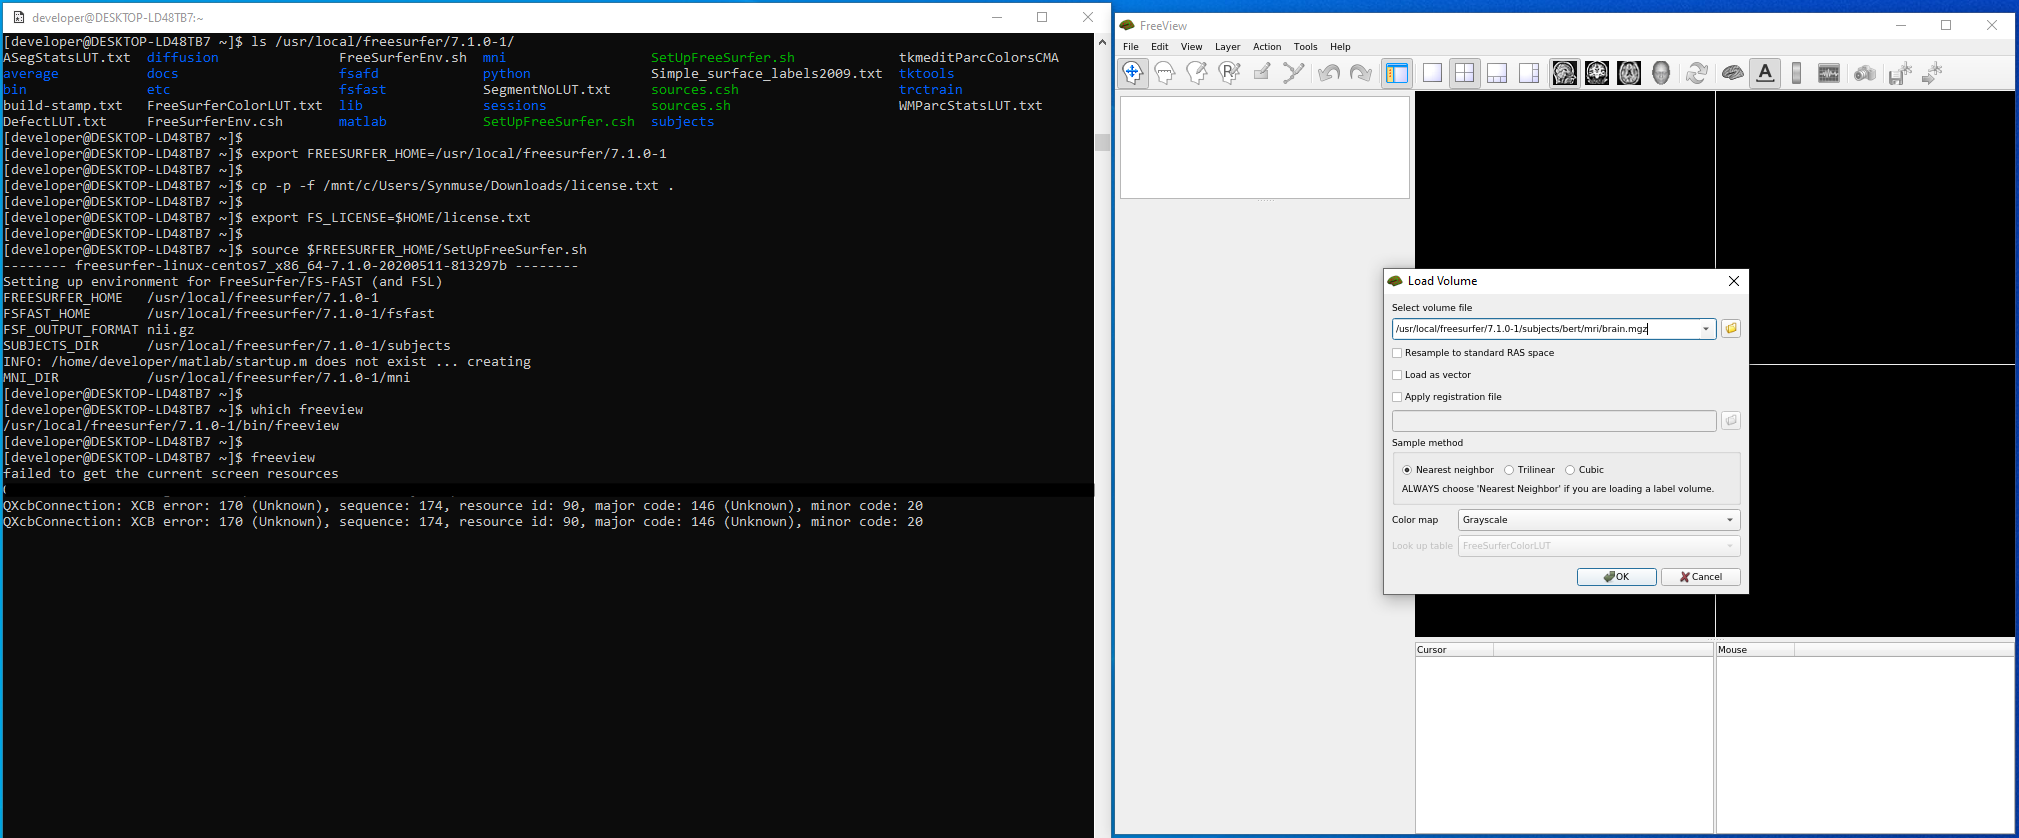
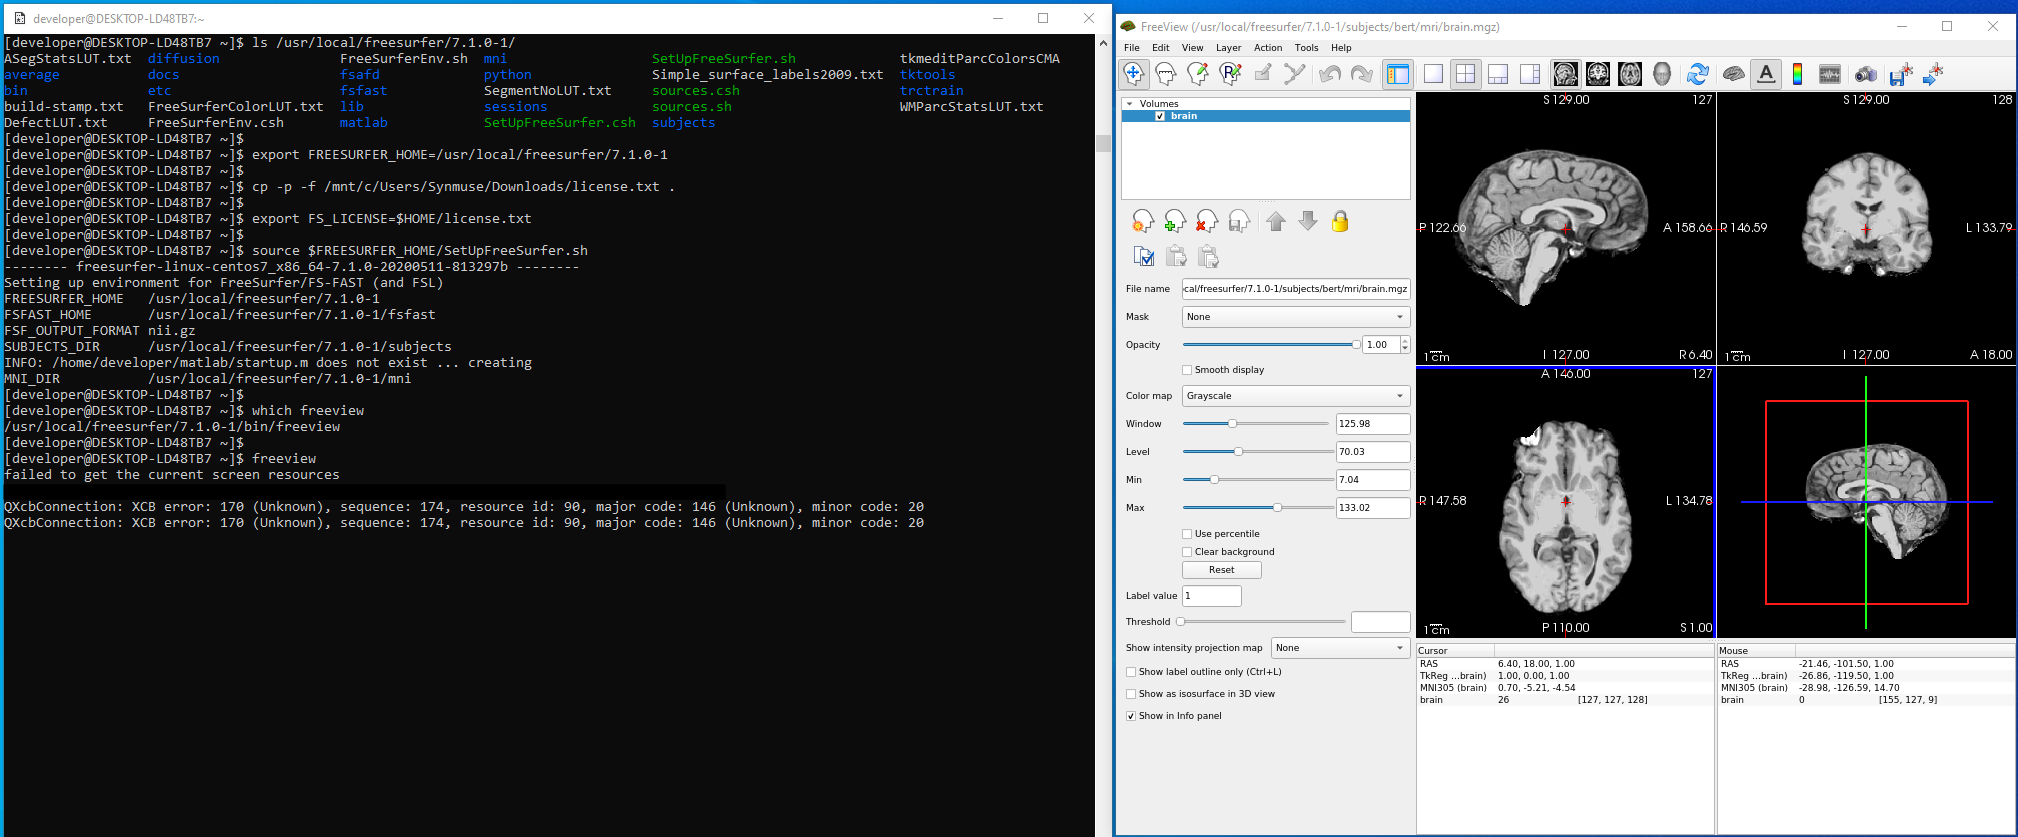
Now try running freeview and test loading a volume with it.
Note that the XCB errors are because the Xming 6.9.x.x server is using an older version of X. Reports indicate that these errors are fixed in the newer paid 7.x.x.x version.
Finally, you can scroll through your history and edit the export commands in order to save them in your $HOME/.bashrc to take effect on subsequent logins.

