Install Xming X-Server and Fonts
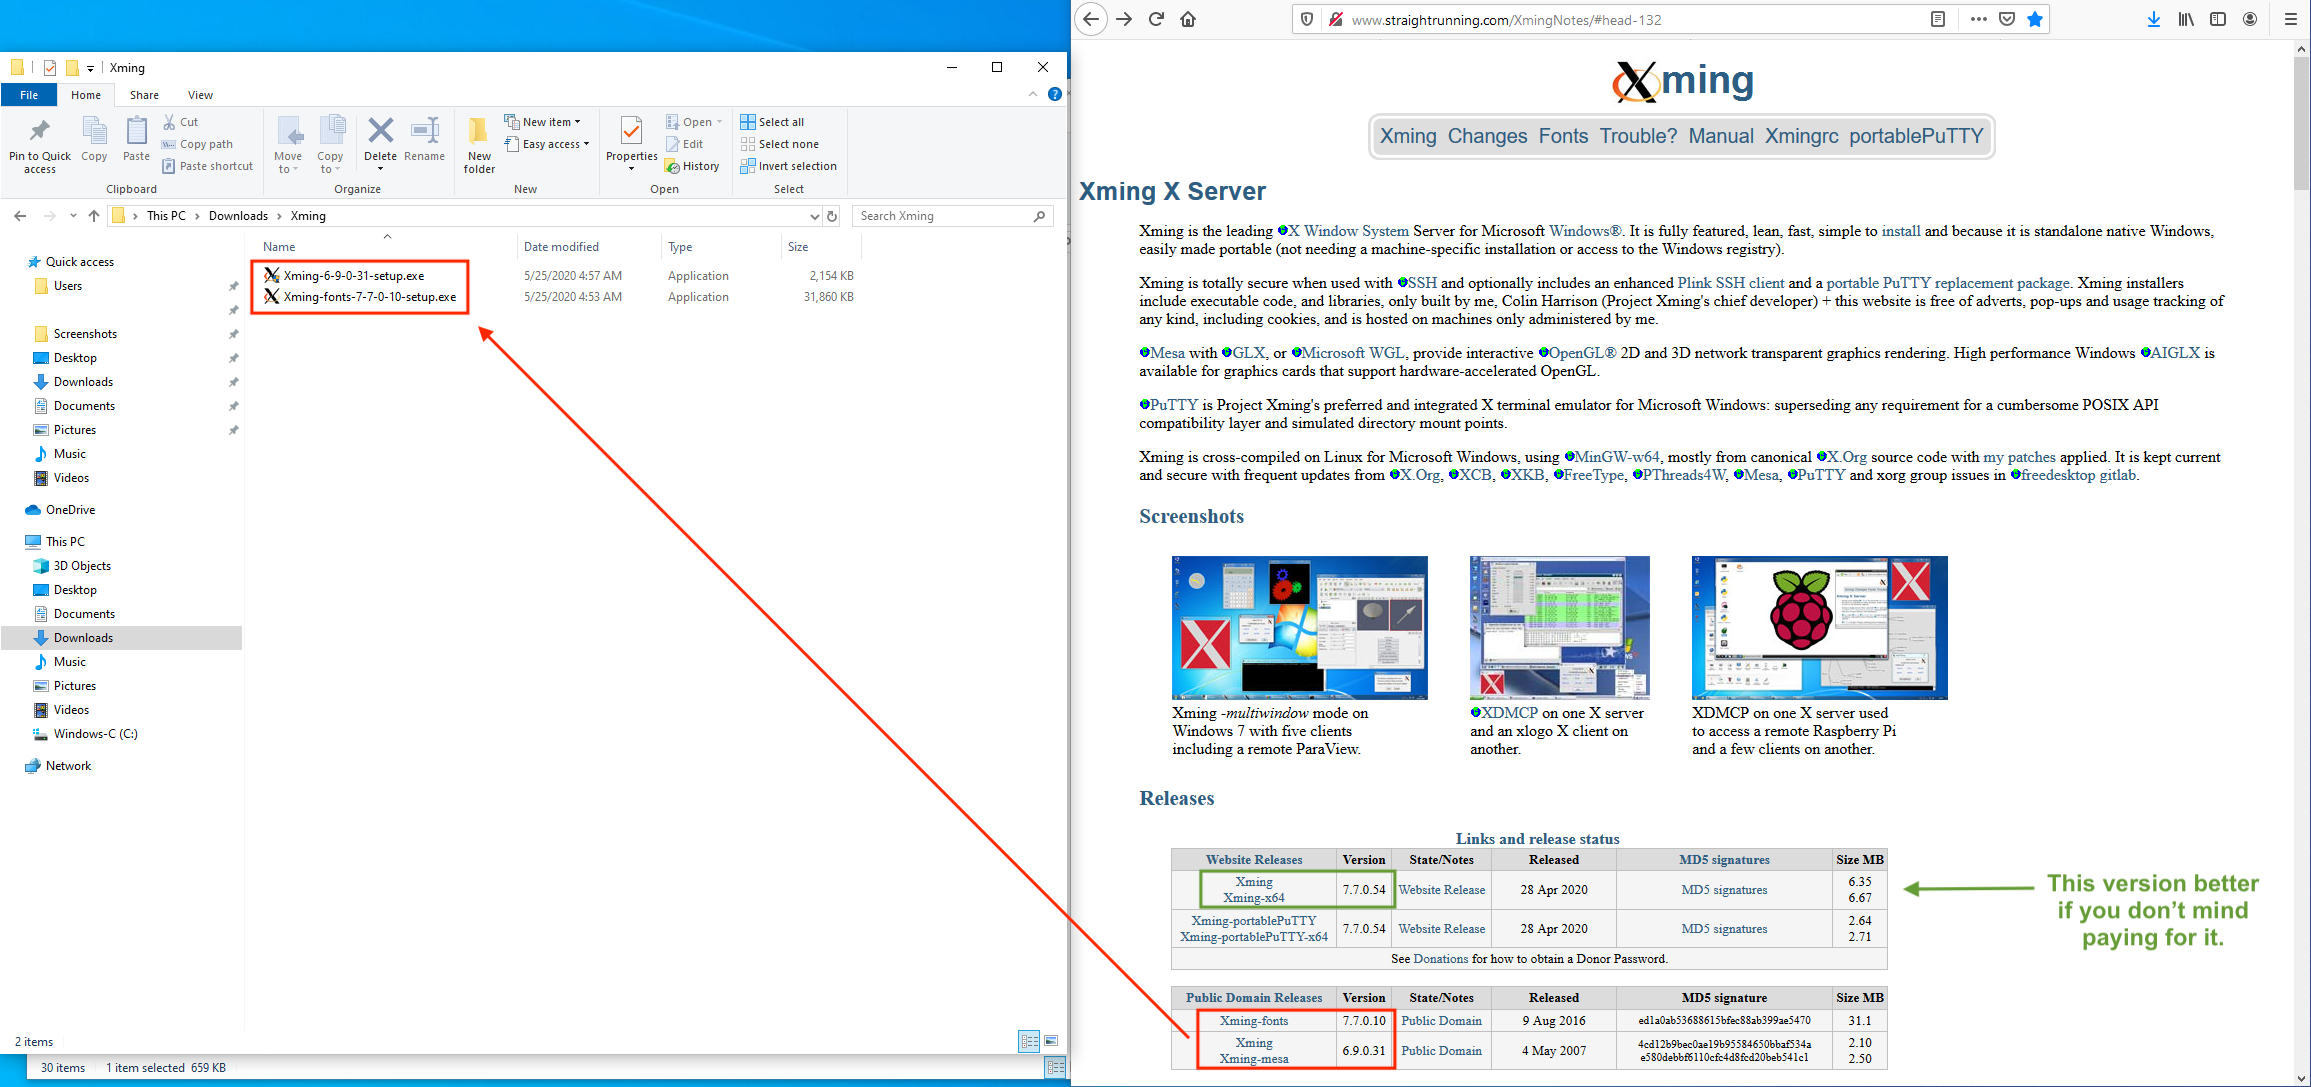
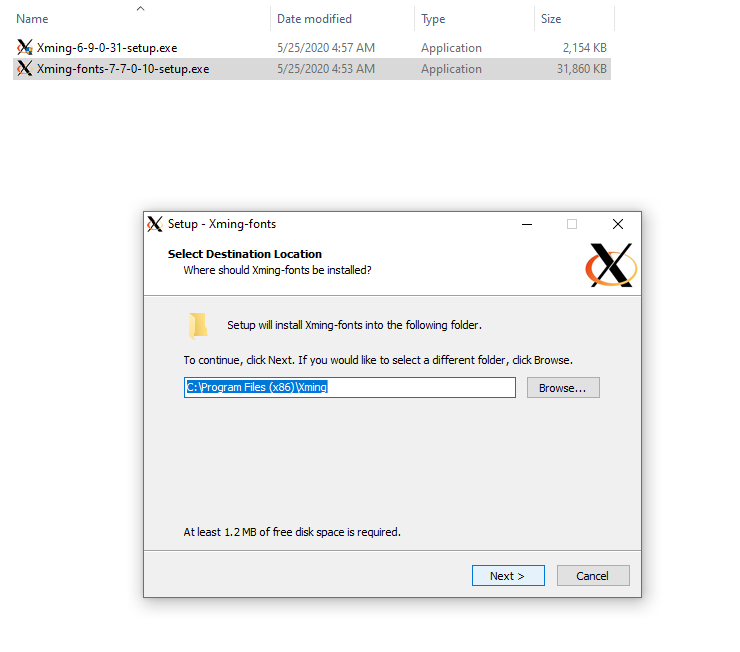
Download a copy of the Xming X-server and the corresponding X-fonts from the (Xming) web site, Xming. The paid 7.x version is preferable to the free 6.X version, however the 7.x version is not free. The examples below will show using the 6.x version, i.e., the 6.x version of the X-server and the 7.x version of the fonts have been downloaded into the Downloads folder in the screen shot below. Please note there are other X-servers available for Windows besides Xming.
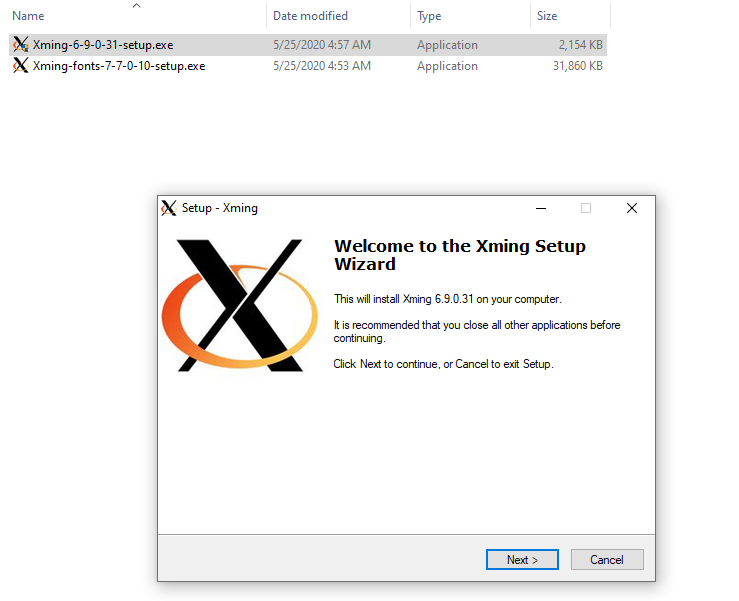
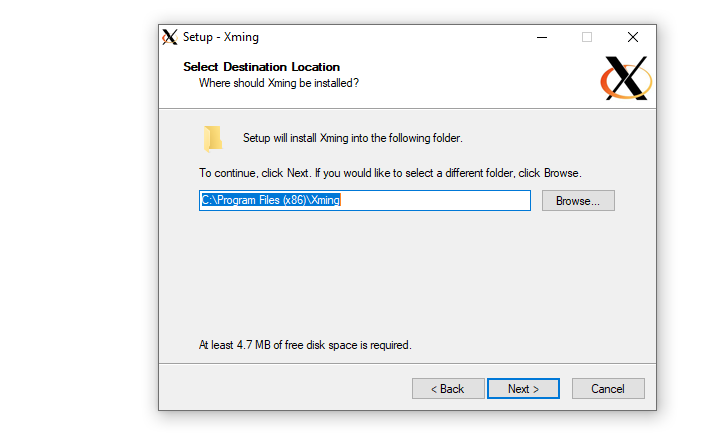
First install the Xming server. You can accept the defaults presented by the installer menus including allowing it to install "Xming" and 'Xlaunch" shortcuts on the desktop.
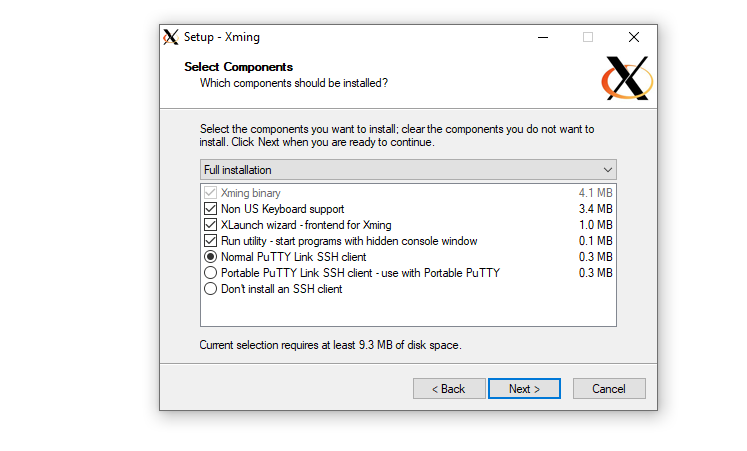
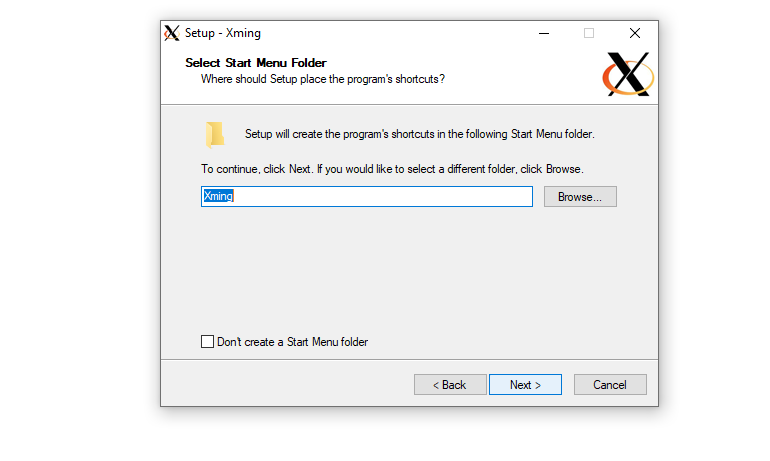
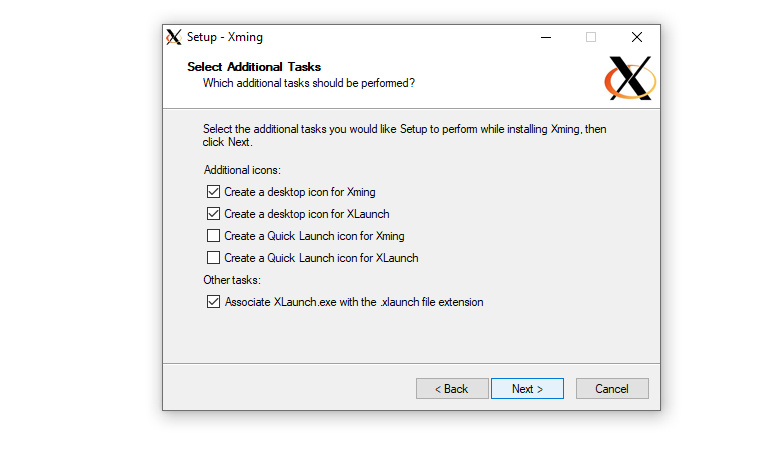
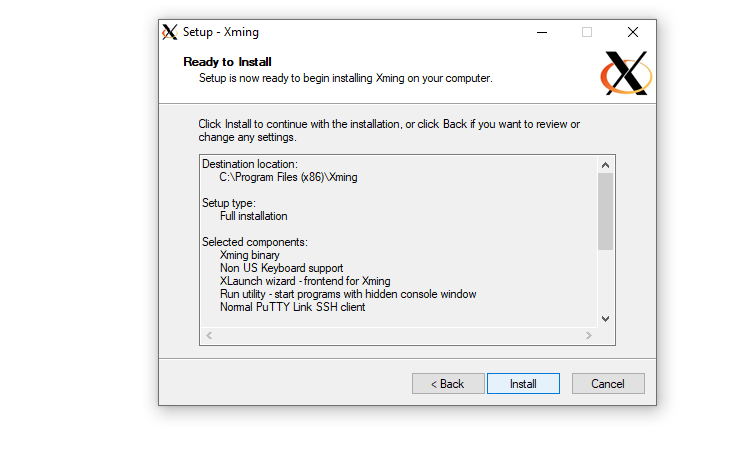
You should have both an Xming and an Xlaunch icon on your desktop after the successful install of Xming.
![]()
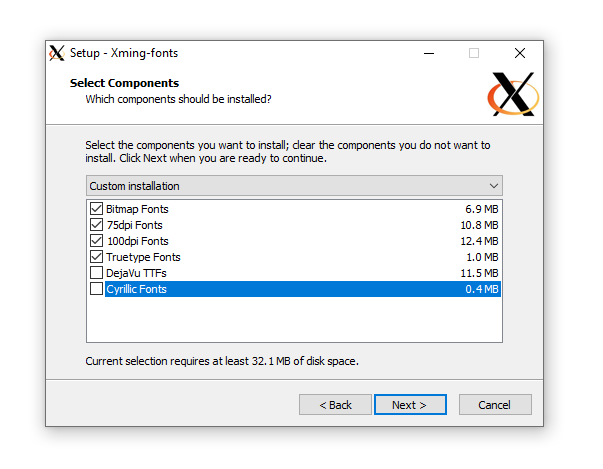
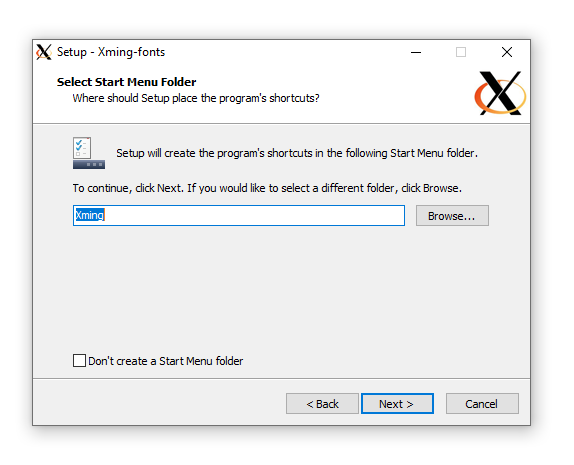
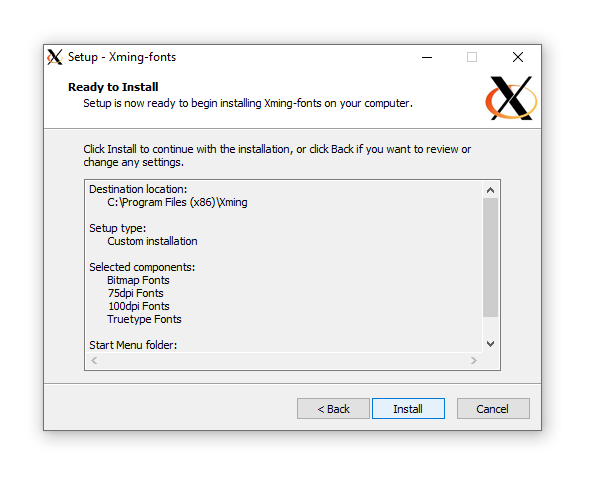
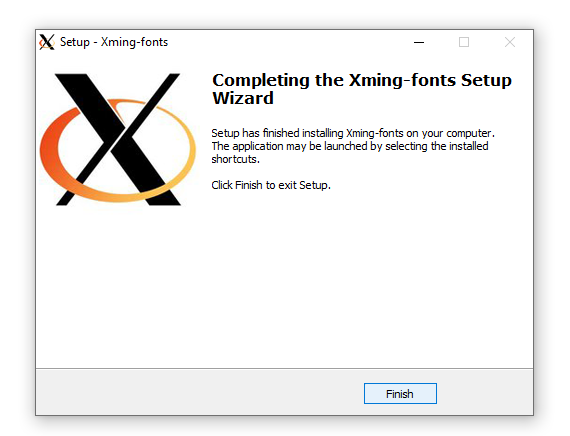
Next install the corresponding X-fonts,
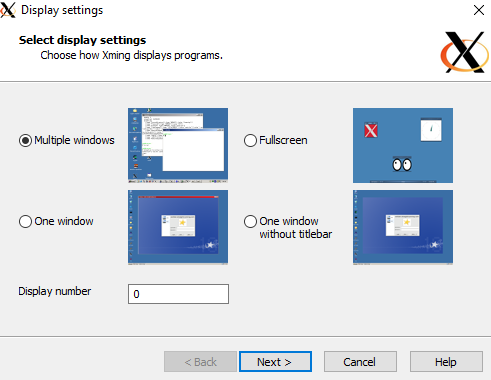
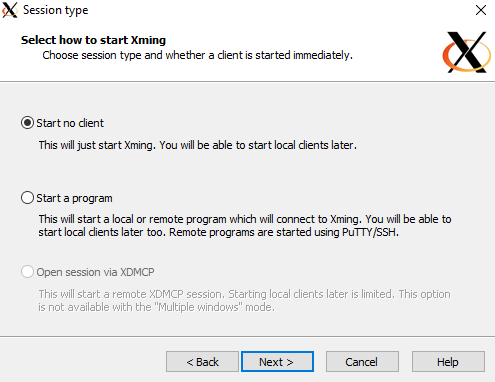
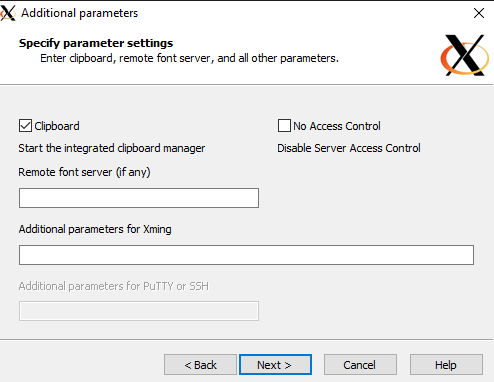
Now double click the Xlaunch icon and go through the steps below to create and save an X configuration file in the same folder where Xming is installed.
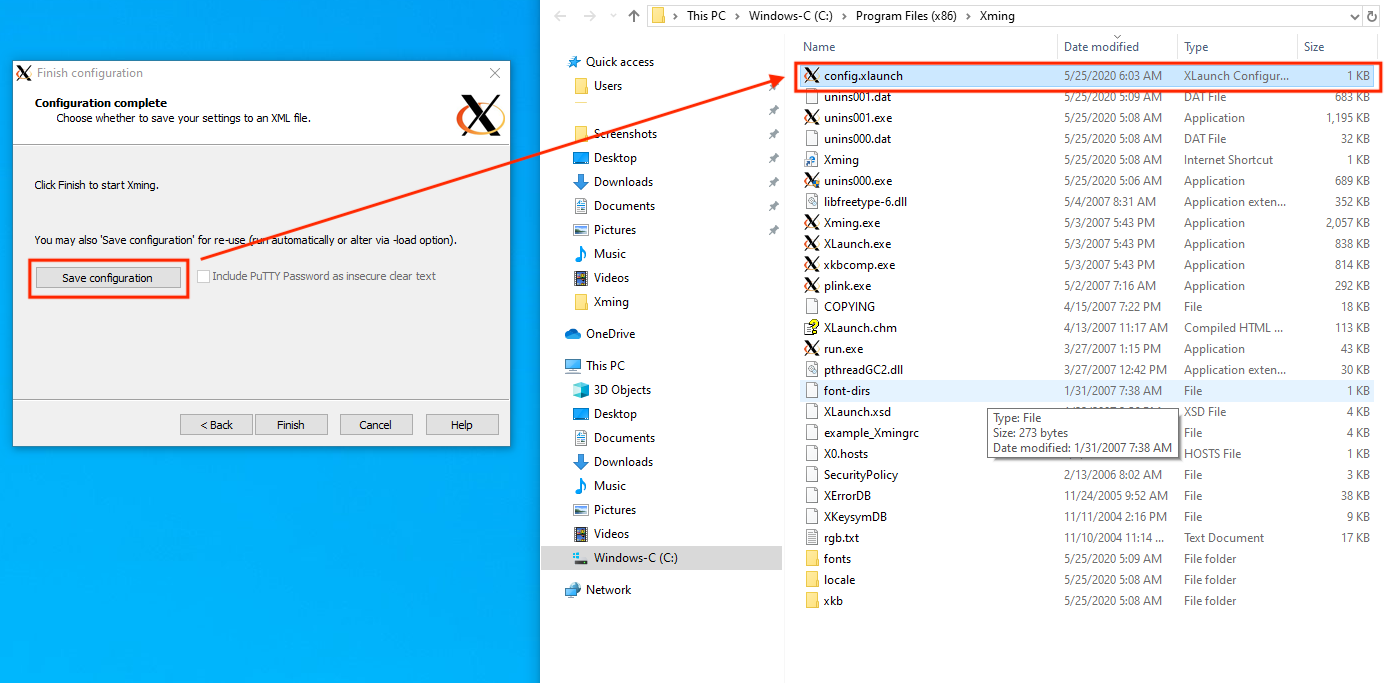
Test Launching Xming
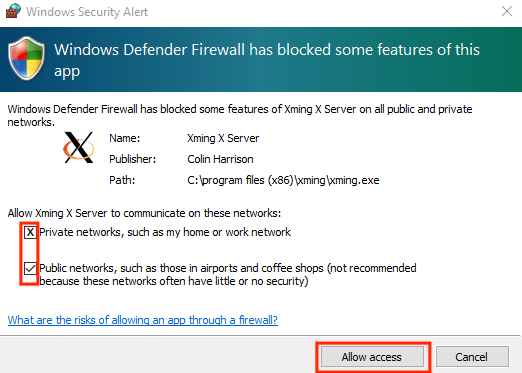
Test to see if the Xming server will run by double clicking on its desktop launch icon. You will probably get a message from Windows Defender reporting it has been blocked from running by default. Give Xming permission to run on both local and public networks.
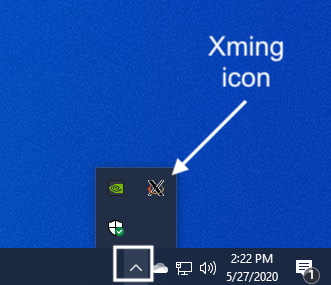
Once Xming is running, it should be visible by clicking on the small up arrow like symbol in the lower left hand corner of the Windows 10 desktop. This will reveal "hidden" items that are running and Xming (with the X icon) should be one of them. You can right click on it to exit Xming.
