Slab Photography Protocol
Contents
This page is part of the photo reconstruction documentation. It describes how to prepare and photograph brain slabs so that the photographs can be corrected, segmented and reconstructed with the dissection photo app.
Guidelines for Brain Slab Image Acquisition
There are some important requirements for the photographic setup of the brain slabs to ensure the best results.
Use a high-contrast background that stands out in uniform contrast to the brain slabs, such as a solid black background. This will make the slabs easier to segment downstream. Using a complex background with a color similar to your brain slabs will lead to more manual intervention, such as having to manually trace contours, which is not only time-consuming but also non-reproducible.
|
|
Low-contrast background: difficult to segment. |
High-contrast background: easy to segment. |
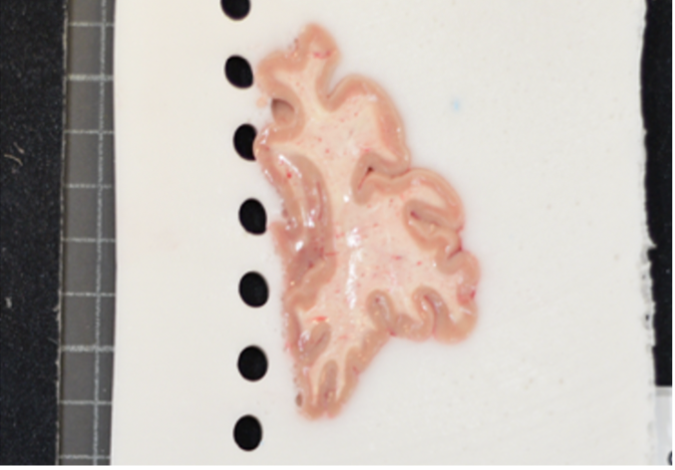
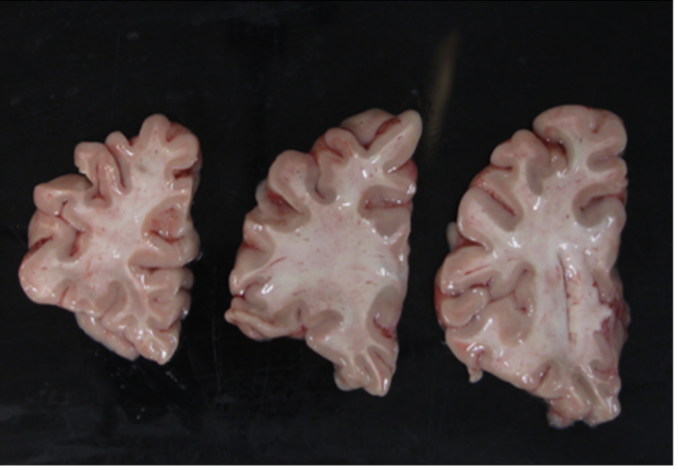
Additionally, all tissue block faces must face the same direction: all slices should be photographed either from the anterior or from the posterior view. Note that if slabs are photographed from the posterior view, the extra flag --photos_of_posterior_side must be used in the final reconstruction command.
When a single slice produces multiple tissue blocks, they should be placed as close to the original anatomy as possible. For example, after acquiring slices from the frontal pole, the initial blocks corresponding to the temporal lobe will often be detached from the main block. The following figure shows a) proper anatomical placement of tissue, and b) tissue placed too far apart, which is not anatomically accurate.
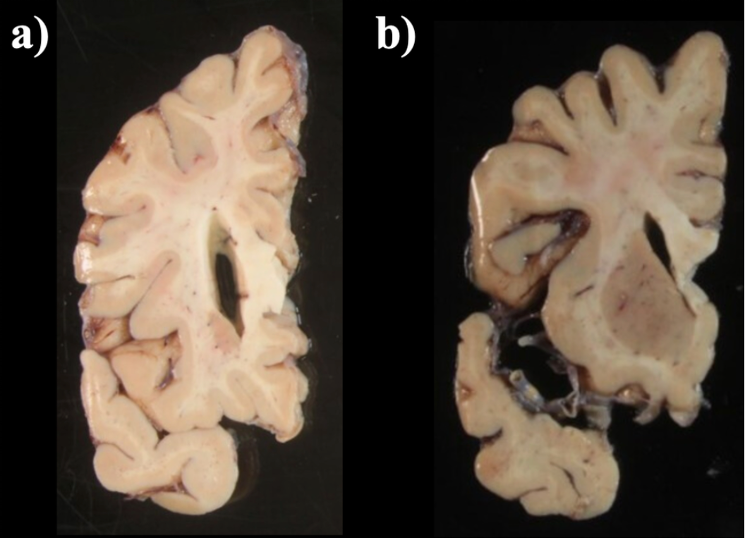
Tissue slab placement: a) properly placed tissue; b) tissue placed in a non-anatomical manner.
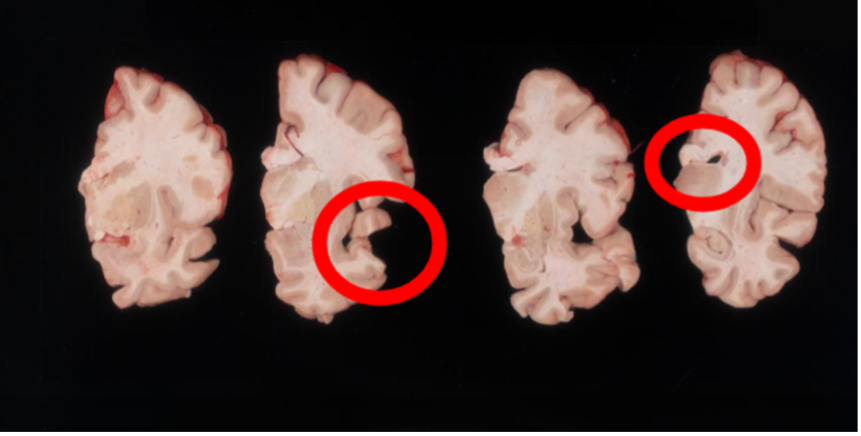
Another example of difficult tissue placement is the corpus callosum. The following figure shows a good setup, with a high-contrast background and good lighting. However, the placement of the corpus callosum on the rightmost slab is incorrect, which will negatively affect volumetric estimates of the third ventricle.
Markers for pixel and perspective corrections
To calibrate pixel size, the user needs to provide landmarks with known distances between them. The minimum requirement is a ruler, which provides two discrete landmarks. This enables rough pixel size correction. This method is preferable for legacy images that only have a ruler for reference.
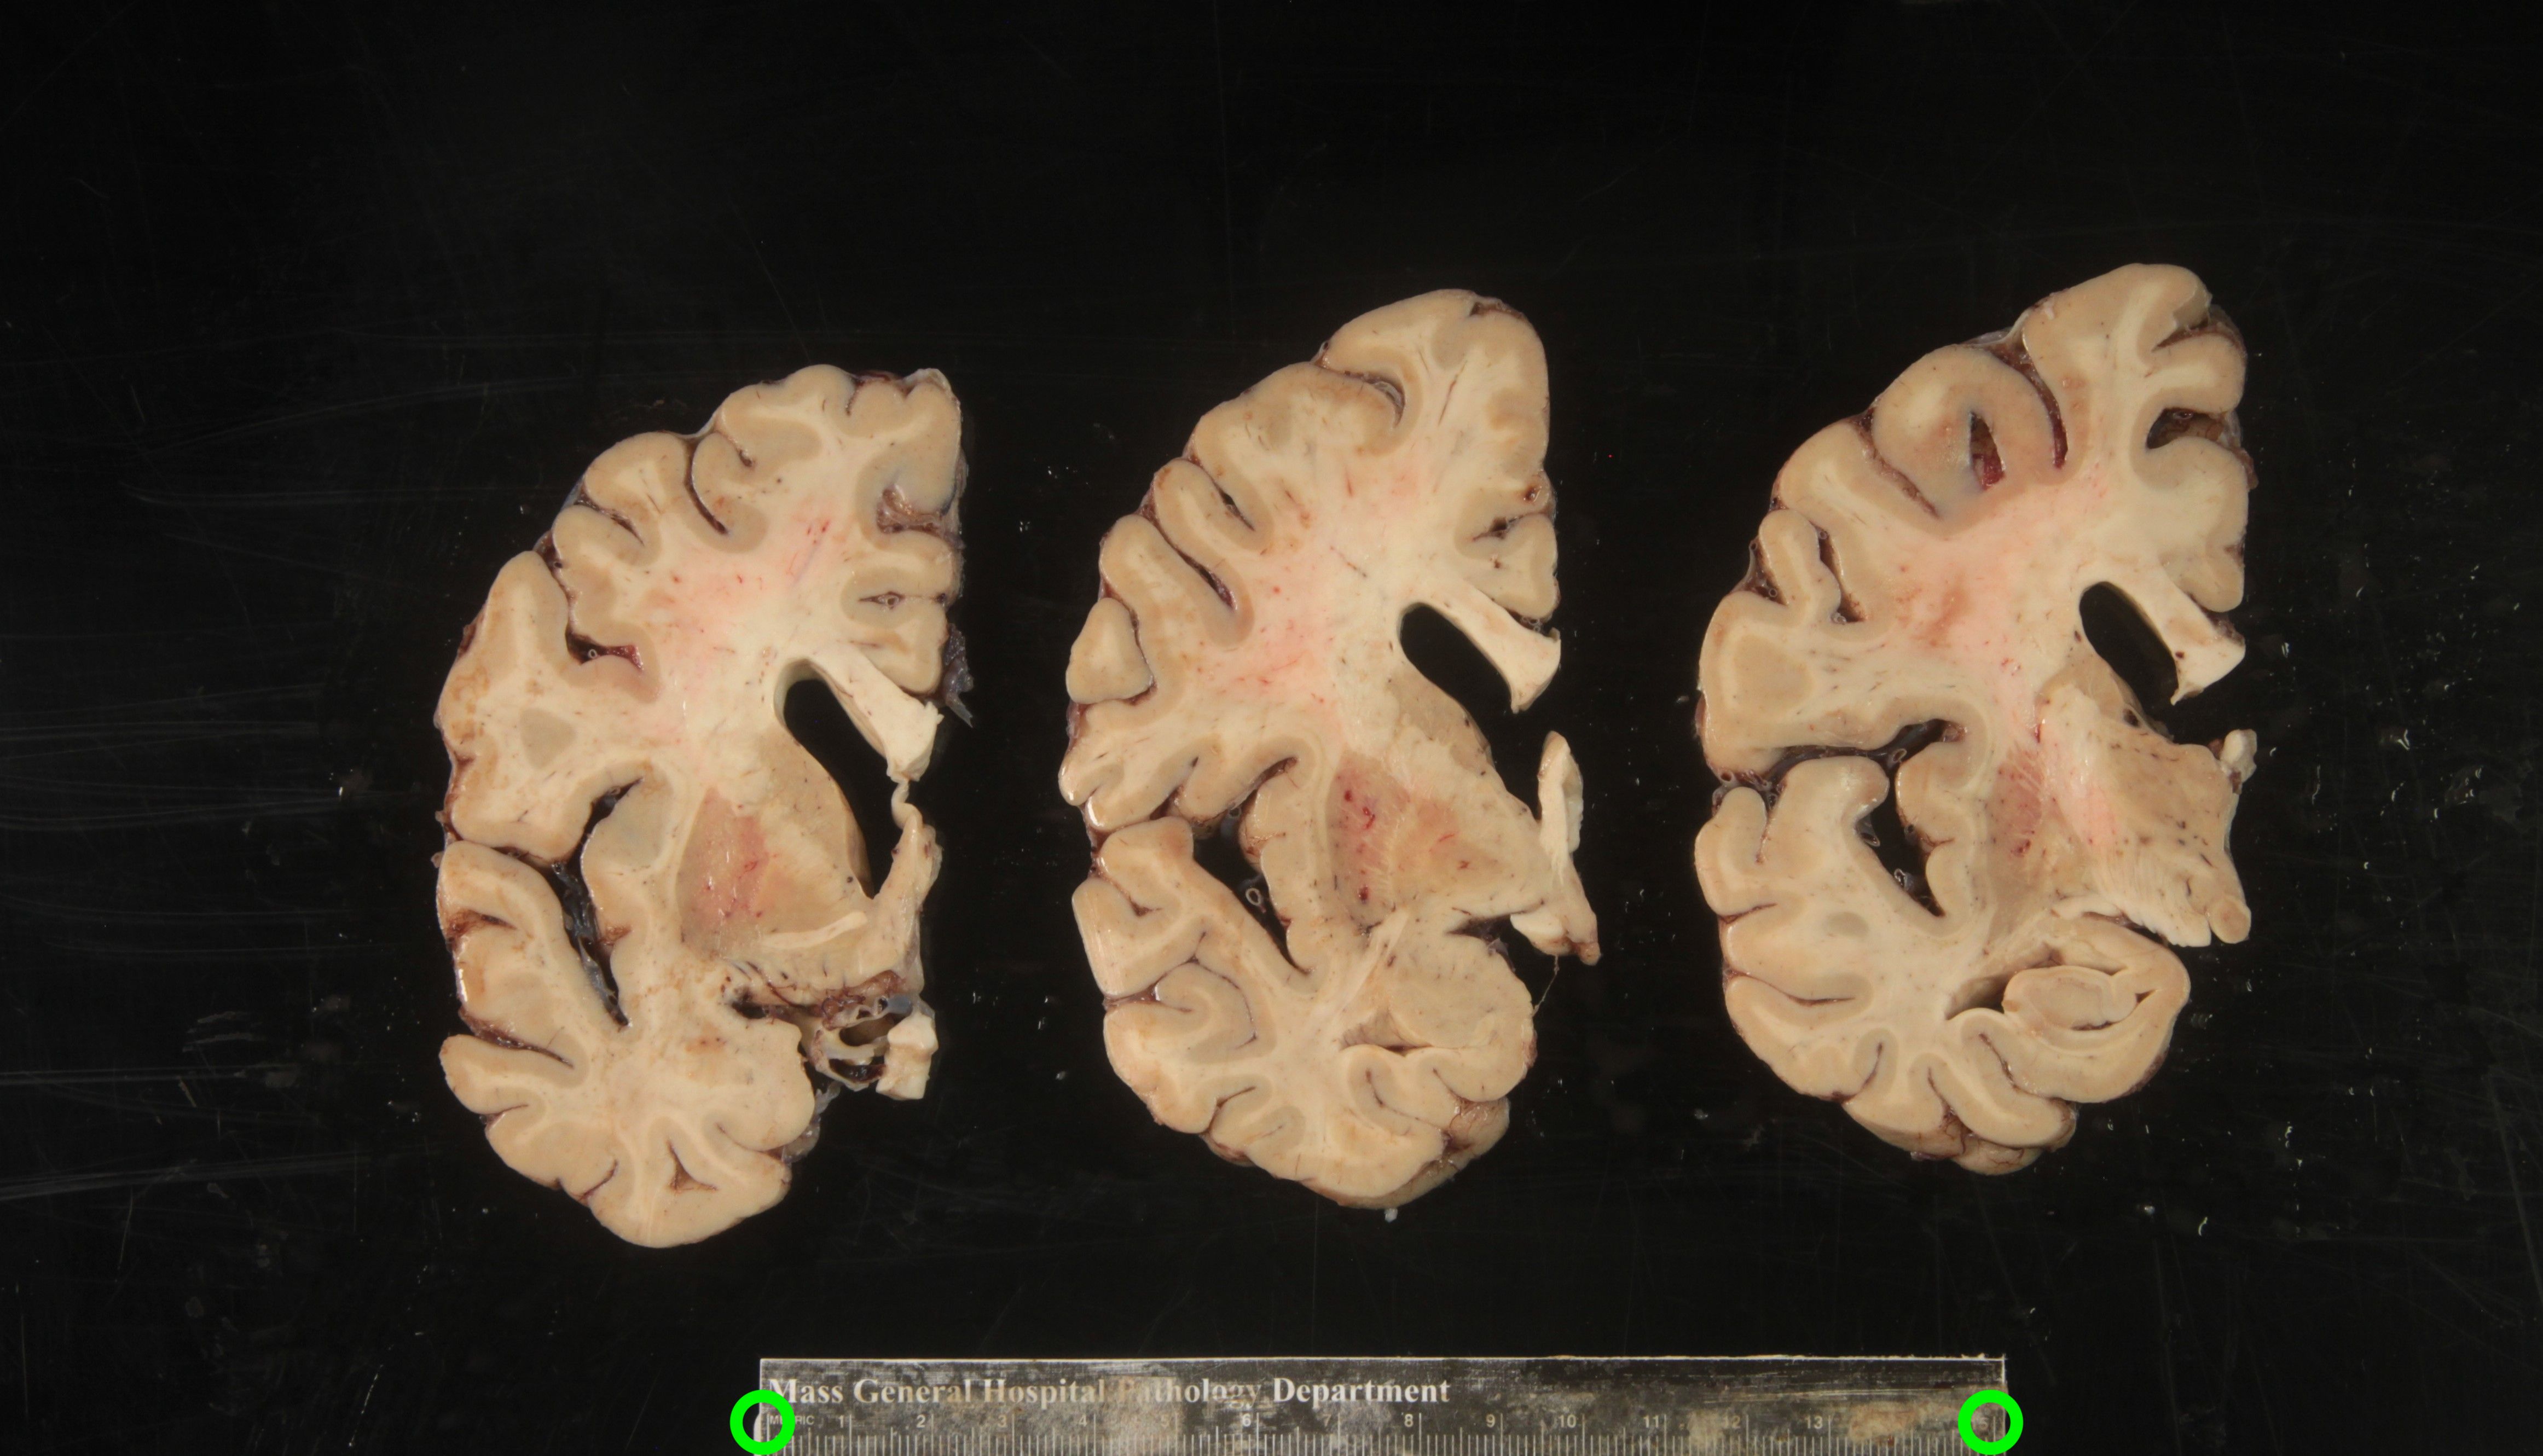
Tip: It is better to use landmarks that are as far apart as possible, as the relative error when manually setting the reference in pixels per millimeter decreases with greater distances.
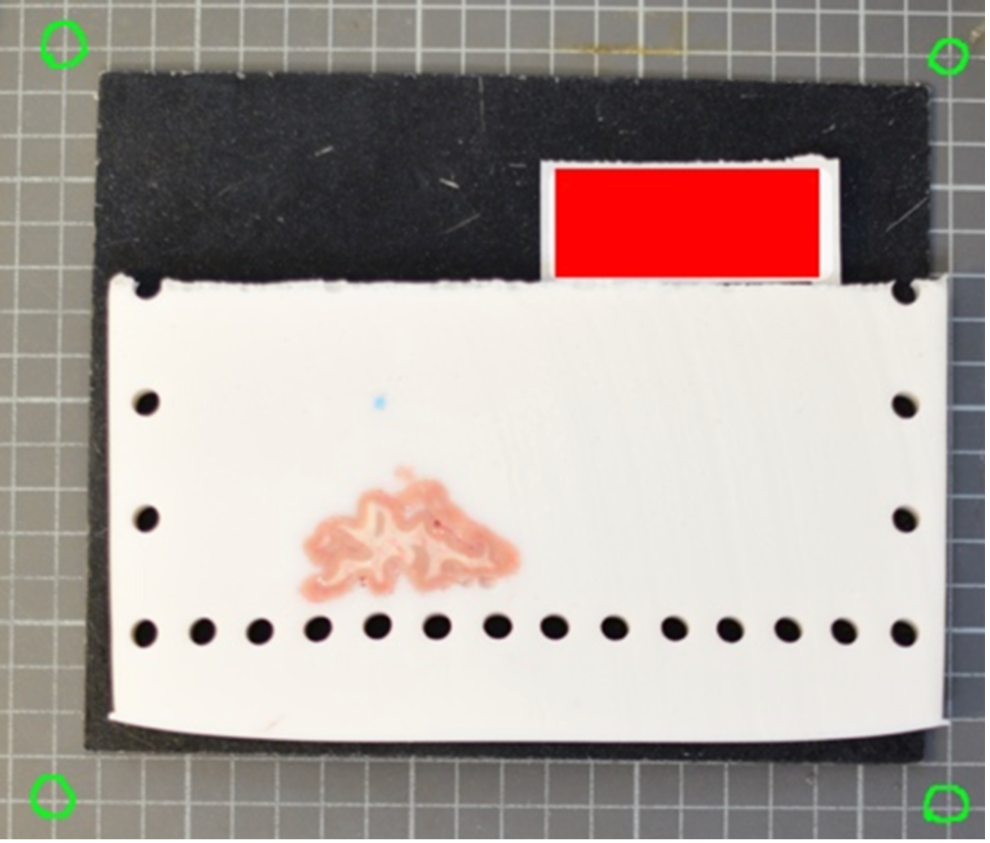
A more effective setup uses four landmarks placed at the corners of a rectangle of known dimensions. This enables us to correct for both pixel size and perspective. In the example below, we can easily tell that the 4 points marked on the grid define a rectangle of 170 x 200 mm.
The optimal scenario is to have 4 points defined by fiducial markers with highly salient features. This enables our software to recognize the fiducials automatically, which minimizes human interaction, reducing time and maximizing reproducibility. We strongly recommend that you print this set of fiducials and place them at the corners of the board.
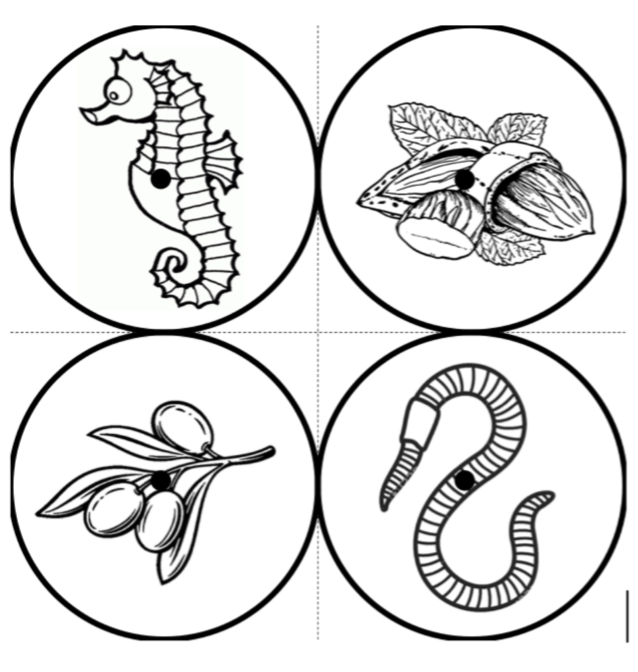
Tip: For best results, affix the fiducials to a small piece of rubber, wood or plastic that lifts them X mm above the board, where X is the thickness of your typical brain slice. Lifting the fiducials minimizes the error caused by the surface of the brain slice not being in the same plane as the board, but a few millimeters above it.
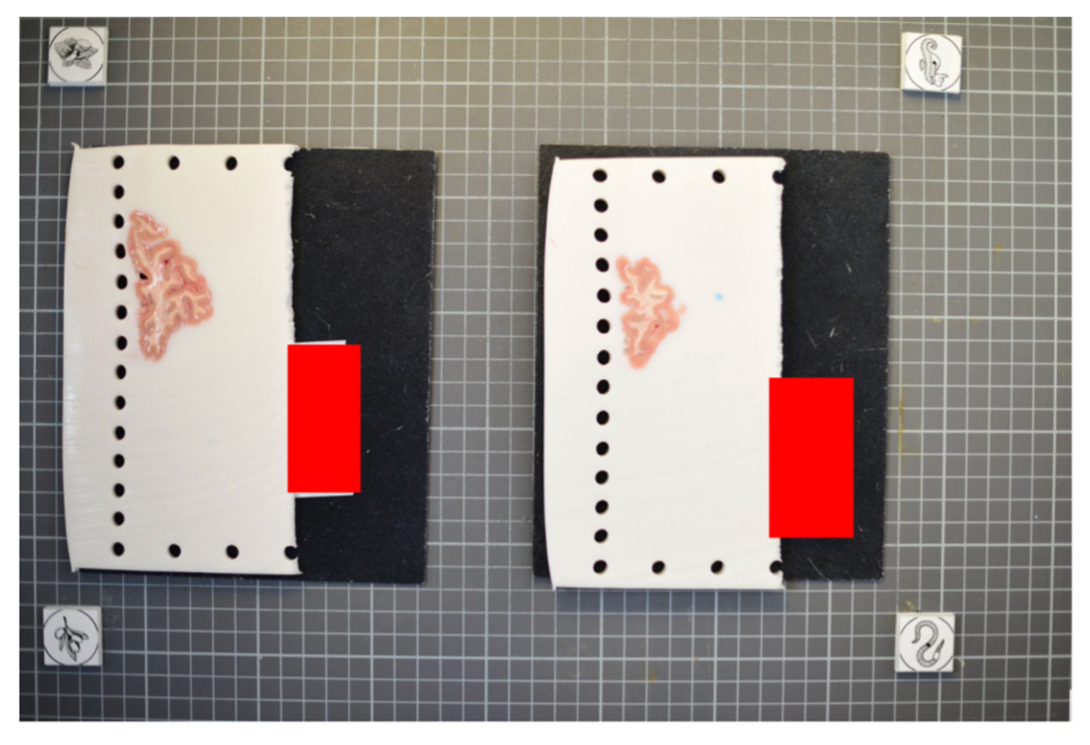
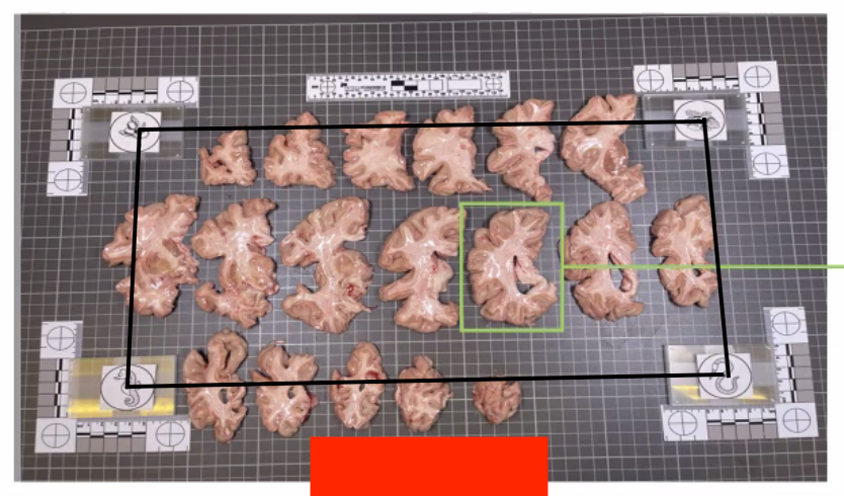
The fiducials form the four corners of the corrected image; hence, all tissue should be within the rectangle formed by the four fiducials. The following image shows slab photos where the fiducials were not placed far enough apart.

Drawing a rectangle through the four fiducial markers makes it clear that much of the tissue lies outside of the pixel-corrected region.
In summary, here is an example of an optimal photographic setup: a uniform, high-contrast background, the provided fiducials located at known distances, and consistent lighting on all slabs.
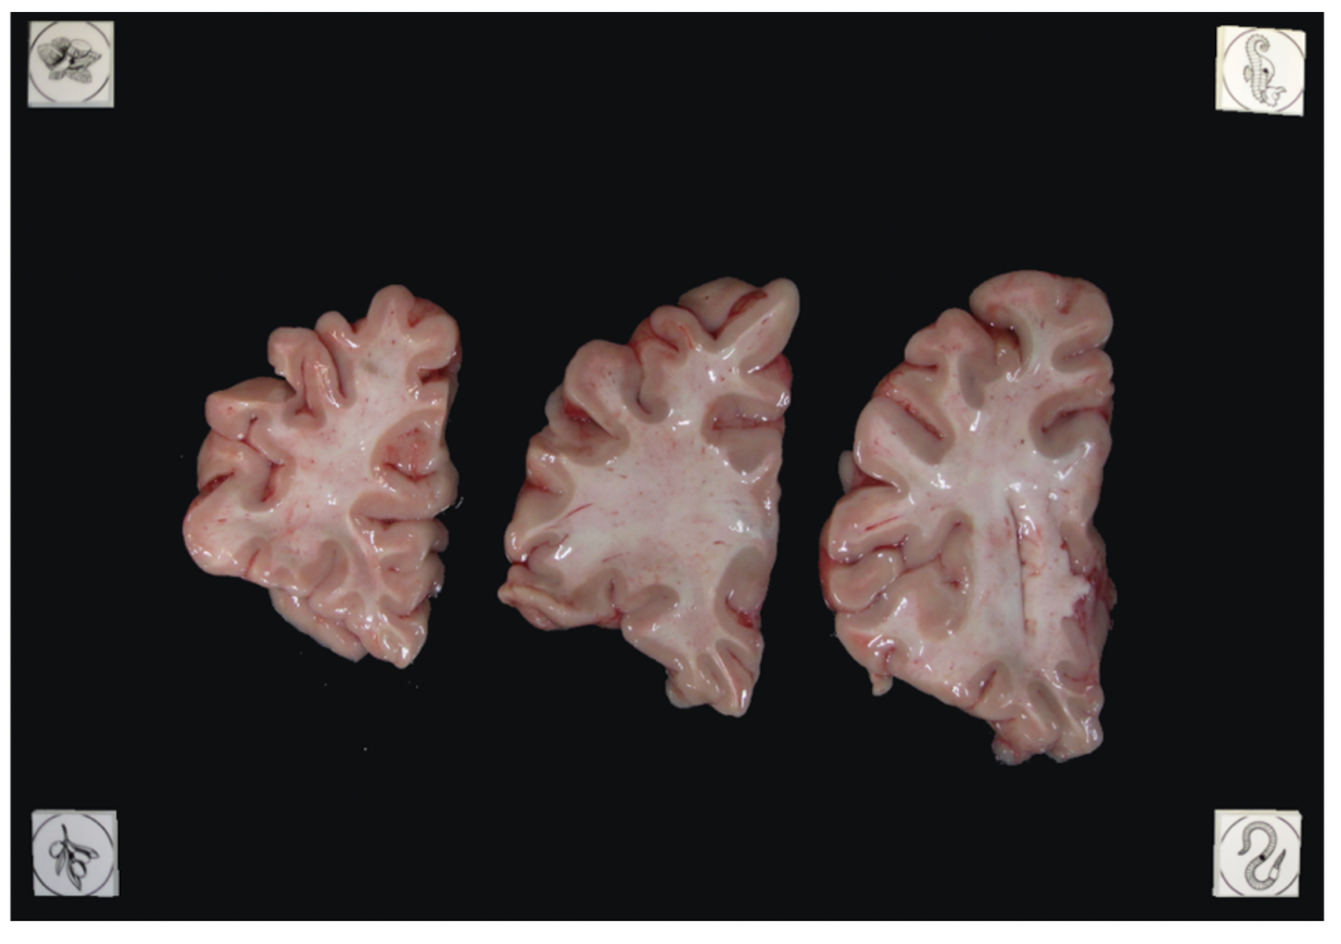
Tip: It does not matter if the slabs are not placed on a grid, as long as the distance between the fiducials is known. The software will draw digital rulers on your images during pixel correction.